Yari Jumpsuit

Hi friends! It's been a while since my last post. Lots of life things have happened and kept me busy, but I've still been sewing up a storm (as documented by my Instagram account).
I'm back today to share a wonderful new pattern release with you...the Yari Jumpsuit by True Bias! Now, I promise, I sew other pattern designers other than Kelli...but hardly. Ha. She is just SO good at creating such wearable patterns! This new jumpsuit pattern can be made into pant or short form, sleeved or not, and has an optional d-ring addition which adds wonderful shaping. I chose to sew up the sleeveless pant version.

I was lucky enough to test for this jumpsuit and am happy to give you some details here and a few pictures (which sadly turned out a bit of an odd color). But hopefully they help you see the vision for this great and on-trend pattern.

The Pattern: The Yari Jumpsuit by True Bias
The Fabric: Thrifted mystery fabric in sage green (some kind of bottom weight cotton blend with perhaps some linen). I purchased over 3 yards for 99 cents!
The Process: I cut and sewed a straight size 2 in this pattern. Sometimes Kelli's patterns can run a bit large on me since I have a small bust. Kelli also uses herself as a fit model and she is 5'5''. So in hind-site I should have made a few adjustments to begin with, but I thought I would get a baseline. Next time I will add an inch or inch-and-a-half to the mid-section (I am 5'7'') so it doesn't ride up my behind. I will also take a wedge out of the neckline by a quarter of an inch to avoid gapping (again...small bust). I may also scoop out the armpits a touch as they ride up on me.
Cutting out the pant version is a little bit of a doozy since it's so long. I paid close attention to grainline and spent extra time making sure things were straight. This helped keep the pants from twisting in the final product. Assembling the pieces was simple and the pattern easy to follow. 
I'd never done a button placket quite like this one and I did wrestle with that bottom fold at the base of the pockets. It's not perfect, but hopefully my next one will be!
The neckline has a facing finish and the arms are finished with a bias binding.
You'll want to make sure you have matching thread for this project as there is much topstitching that shows.
Modifications: I made no modifications. Straight size 2.
Styling & Versatility: Honestly, I don't own many jumpsuits. But I love the look of them and I'm excited to have on in my closet now! I can see wearing this in the spring and fall paired with my Hampton Jean Jacket, or in the summer with my Birkenstocks while I chase my kiddos around. I think this pattern is so on-trend and just a fun piece to have!
Overal Review: On-trend pattern that will help you practice lots of different sewing skills! Also....POCKETS! <3

Lander Pants

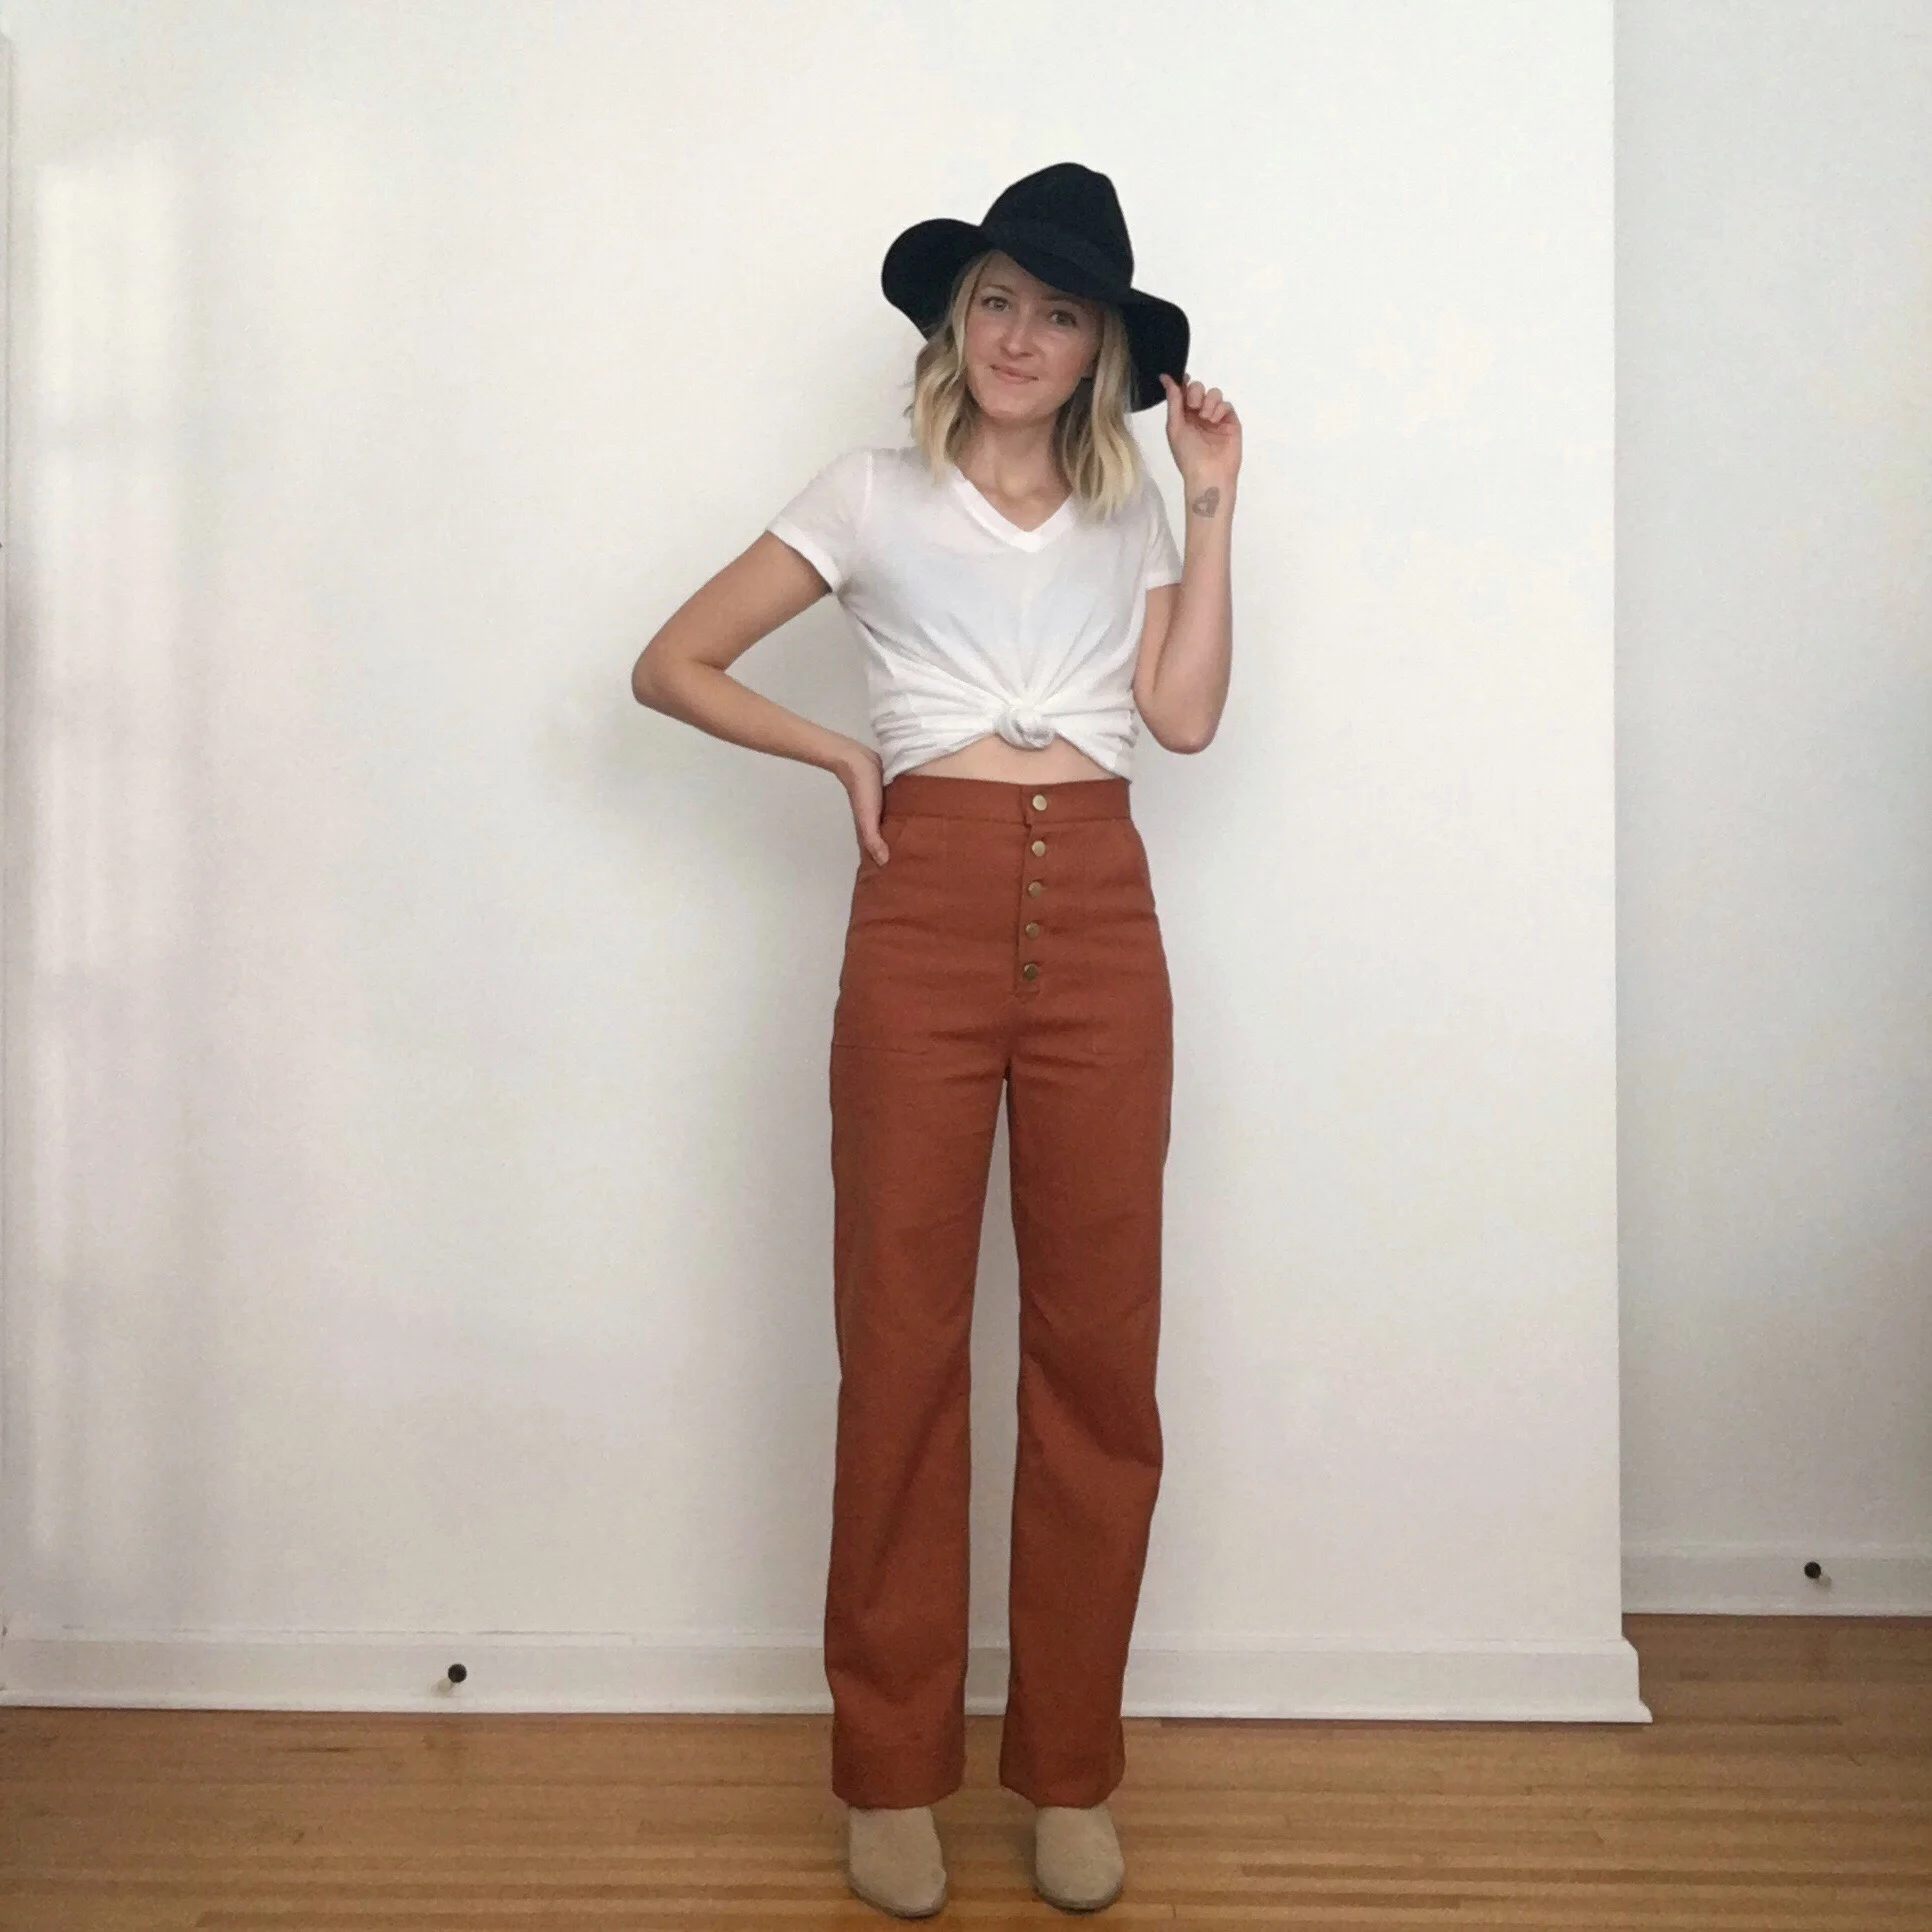
After many weeks and a muslin later, my Lander Pants are finally completed! This is a high-waist pant or short pattern with retro vibes and a sleek design. I learned SO much making these pants and am super super happy with the results. Here are all the details:

The Pattern: The Lander Pant & Short by True Bias
The Fabric: Ventana Twill from Fancy Tiger Crafts in 'Brick Brown'
The Process: Ever since Kelli released this pattern, I've been wanting to make the pant version. But I really wanted a warmer burnt brown color and that's just not easy to find (especially second hand). Kelli pointed me to Fancy Tiger's twill and the rich 'Brick Brown' color was out of stock. I emailed Fancy Tiger and they were able to re-stock it (thank you FT!) which settled my fabric hunt for these pants! I love this color even though it's a little out of my comfort zone (you will usually find me in camel, navy, black, and grey). 
Next, I wanted to add to the rise of the pant, so following Kelli's lengthen shorten line, I added 2 inches to all relevant pattern pieces (check out her sew-along, that was very helpful). 
Modifications: I omitted the belt loops for a more clean-line look. I added 2 inches to the rise as well as took in the hips a bit to create less fullness and achieve a straight edge all the way down. Due to the rise, I added one more button to ensure they closed nicely with not gaping. In hindsight I could have sized down in the twill because it has more stretch than the fabric I used for my muslin. Lesson learned!
Styling & Versatility: Like I said, these pants are a little out of my comfort zone color-wise and to be honest, shape-wise. I've been a skinnies girl for years, but I really love the Kamm pant look and wanted to give it a try myself! Since most of my closet is neutral, I think these will add a fun burst of color!
As winter comes to an end, I'll be wearing these with sweaters and cardigans, then boxy tops as spring approaches. I think they will be really fun for next fall paired with heeled booties and oversized scarves.
Overal Review: If you've never sewn pants before, these will give you many chances to grow in your sewing knowledge. But they are not difficult if you take your time and follow the instructions and sew-along. I think choosing the right weight of fabric is key for these pants. I want to make another pair in the future, possibly in a dark khaki, with a zip fly for an even cleaner look.

Nikko Top by True Bias

I'm REALLY excited to share with you the latest pattern release by True Bias...the Nikko Top & Dress. Kelli reached out to see if I would be one of her testers for this pattern and of course I said 'yes!'.
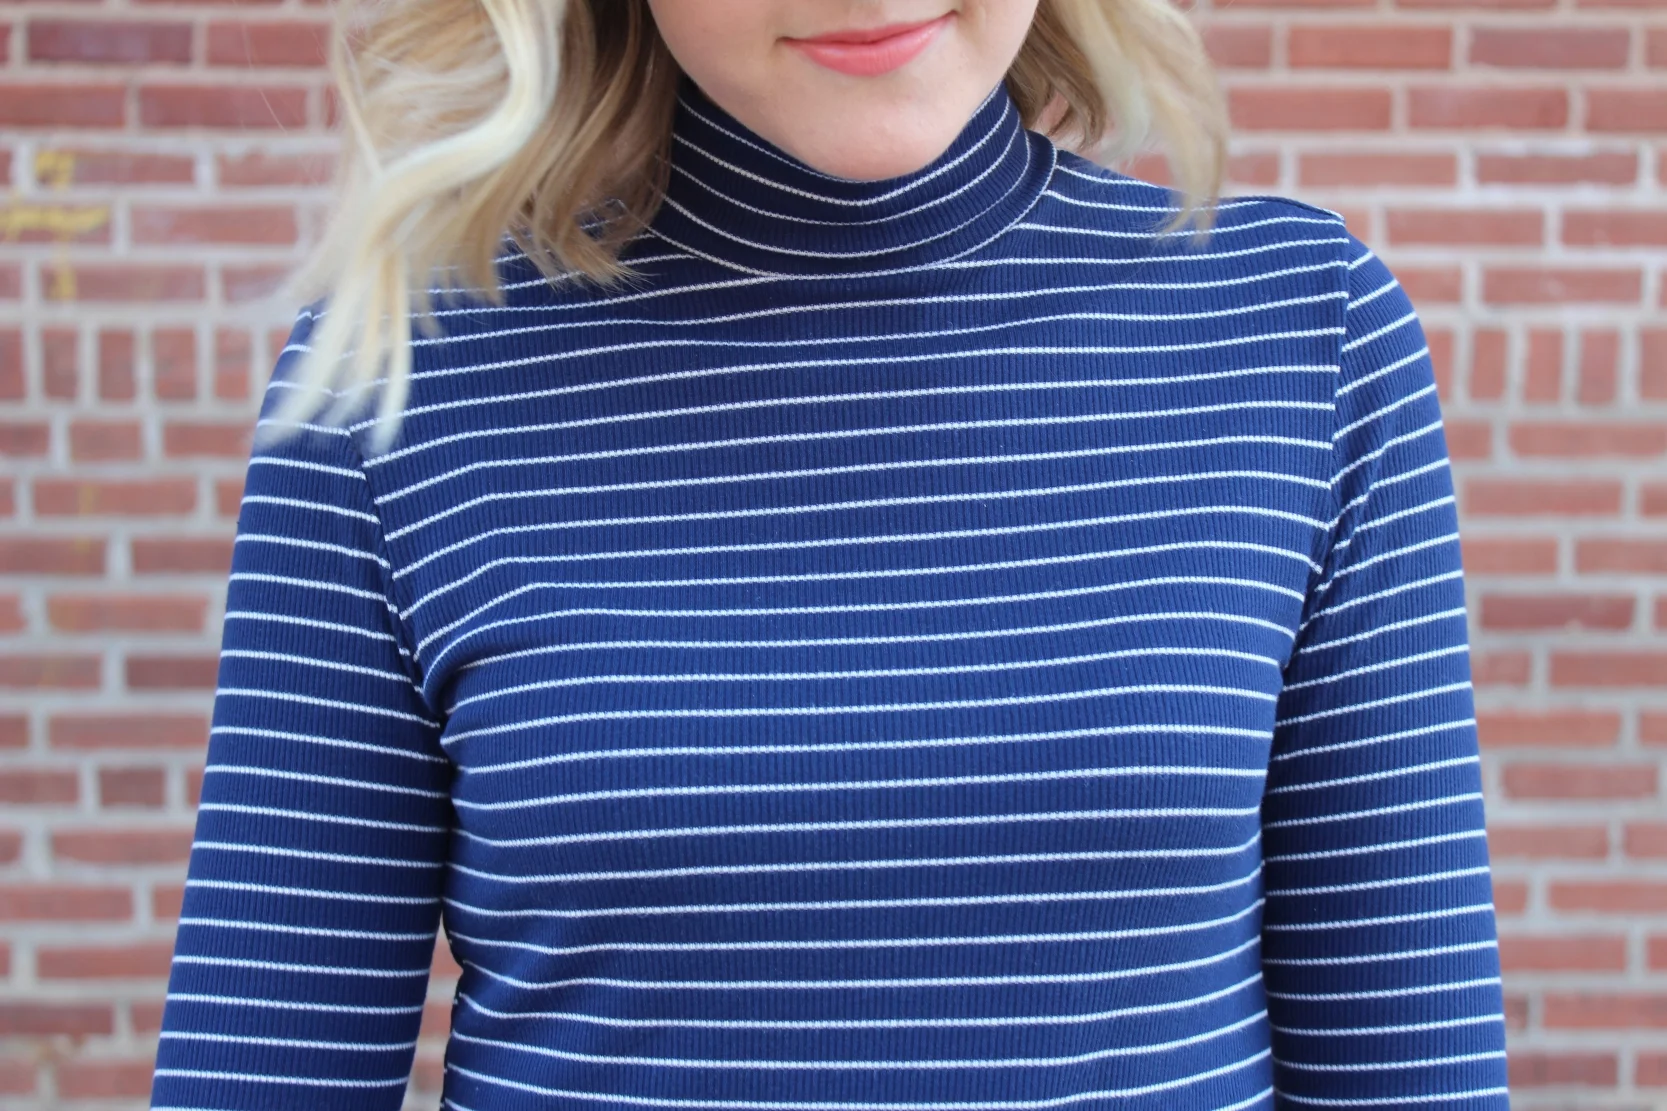
This is a mock-neck style top which utilizes a knit fabric. You can choose the sleeveless version for either the top or dress. I made the long sleeved top in a striped ribbed jersey. 

The Pattern: The Nikko Top & Dress by True Bias
The Fabric: Ribbed knit jersey from Joann's Fabric
The Process: I made several versions of this top before landing at just the right size and fabric. The first run I sewed up a size 0 and the fit was uncomfortably tight. Kelli's patterns tend to run a little big on me, but not in this top. After one more attempt with some unruly fabric, I finally found this cute striped jersey at Joann's and it was the perfect choice for this pattern. I sewed up a size 4 and the fit is so much better. Be mindful to follow Kelli's suggestions for fabric (i.e. the stretch and recovery), or you might end up with a few failed attempts like me!
Modifications: I shortened the top by 1 inch following the 'lengthen shorten' line. I prefer my tops not to be super long b/c they tend to bunch up in my jeans.
Styling & Versatility: When I saw this pattern I may or may not have squealed in excitement to myself. :) Over the last several years I have enjoyed wearing high-necked tops and love how warm they make me feel. The Nikko is a wonderful staple wardrobe piece that is easily mixed with sweaters, tucked in or out, layered or not. I want to make several more of these tops to add to my fall and winter wardrobe! I think the Nikko would be well-paired with the Lander Pant and I fully plan on doing this as soon as my Landers are completed!
Overal Review: No brainer. Great pattern. Wardrobe staple. Get it!

Mandy Boat Tee & Winter 10x10

Last week wrapped up another 10x10 wardrobe challenge (if you've never hear of this, read all about it here). In the fall I also participated in the 10x10 challenge and half of my items were me-mades. This time around I only included 3, one of which was my recently made Mandy Boat Tee!

This top is a free pattern by Tessuit Fabrics and I created this one out of a jersey bed sheet I found at the thrift store. As I continue to get more comfortable with sewing with knits, shopping second hand is a great option. And talk about secret pajamas...clothing made with bed sheets! ;)
I'll give you an overview of this piece then share my reflections on this year's winter 10x10.

The Pattern: Mandy Boat Tee by Tessuit Fabrics (free!)
The Fabric: Cotton jersey from second hand flat bed sheet
The Process: This pattern is 'one size fits all' and is meant to be a loose fitting comfortable top. To begin I washed my fabric on hot and dried (since this was someone's former bed sheet I wanted to make sure it was thoroughly disinfected). I then had to figure out which way the grain ran and cut the fabric to get it all straightened out. The sheet was cut quite crooked when the original maker created the sheet. Once I had the fabric on the square I was able to proceed.
For the finishes on the hems I used a double needle on my machine. This was my first time trying a double needle and I was surprised how easy it was to do!
Modifications: I followed the pattern with the exception of adding 2 inches to the sleeve length to make it full sleeves instead of 3/4 and I also took off 2 inches from the length to give more of a cropped fit.
Styling & Versatility: My wardrobe needed another basic 'mom' top for winter and this fit the bill! My days are spent chasing babies and I usually end up covered in dried snot by the end of the day. SO, comfy easy clothing is what I reach for on the regular. I love wearing blue, however this is slightly brighter than I normally gravitate toward. I do think it will mix well with my current wardrobe however. 
Overal Review: If you've been afraid to work with knits, definitely try this pattern! First of all, it's free, so that's a great reason to try it. But it's very forgiving since it's not fitted so there is little room for error. Keep a look out for jersey sheets when you hit the thrift store, then you will really have no excuse! I will be making more of these in the future for sure!

This winter marks the 4th time I've participated in the 10x10 challenge and each time I take away something new. 

The clothes I selected:
2 bottoms: one pair of high-waisted jeans, one pair of leggings
5 tops: one button up, one sweater, and 3 pullovers
2 outer pieces: one boiled wool kimono, one open cardigan
1 pair of leather ankle booties

What felt right:

  • I had no struggles coming up with outfits this round. Since I selected all separates, it was very easy to mix and match and not feel bored with what I was wearing. I loved pairing a few combos in new ways and I especially enjoyed utilizing my amazing Eileen Fisher boiled wool kimono that needed to have the spot light. It is really quite the team player. 
  • These leather booties were a recent purchase and I enjoyed the way they looked with each outfit. No regrets on only having 1 pair of shoes for 10 days!

What I would change next time:

  • First of all, I wasn't terribly happy with my color palette. I ended up feeling like I needed a few warmer colored pieces to throw in the mix. I tried to do this with earrings and a bandana, but I wanted something more camel colored (my signature color) in rotation by the end.
  • It's challenges like these that help me weed out pieces in my closet, and this time, that would be my jeans! I purchased these H&M Conscious jeans after having my son, thinking they would be a great way to pull in my postpartum tummy but I came to realize they just aren't quite high waisted enough. For me I need at minimum an 11 inch rise on my pants to truly feel satisfied in the height of the waist. Anything lower than that rubs me in a weird place where my abdominal muscles have separated after having 2 children.
  • Lastly, by the end I wished I had a piece or 2 with some length variation. Each top was relatively the same length and it left every outfit looking fairly similar in dimension. Next time I will add a long vest or skirt to change this up a little bit.

Ultimately my goal in participating in the 10x10 challenge is to have all pieces be me-mades (well...maybe not my shoes). I will slowly work toward this in the coming months and see if each time I can increase the number. There is also an amazing community of sweet women that participate through instagram, so follow the hashtags on there and you will be filled to the brim with inspiration!

Avocado Dyed Gathered Blouse

For the last several months I have been saving my avocado pits, waiting to have enough to naturally dye a large piece of fabric. We've been pretty cooped up due to the cold, so last week seemed like the perfect chance to try this new adventure!

  • To begin I boiled 15 avocado pits in my large pot for several minutes then simmered the pits for 2 full hours. Most tutorials say 30 minutes to an hour, but I was hoping to extract as much color as possible. The water turned to a beautiful red color.
  • Next I strained out the pits and little remnants and added alum in proportion to the amount of water (alum purchased through Amazon).
  • Once that was dissolved I soaked my fabric in warm water making sure it was thoroughly damp. This helps the color take more evenly. I used half of a 100% cotton sheet I recently found second hand. It is a very high-quality sheet with a high thread count.
  • I stirred the fabric in the dye bath and made sure it was completely covered. The canning accessory came in handy to weigh down the fabric and keep it submerged. I let the fabric sit overnight in the dye, stirring a few times before I went to bed. In the morning I wasn't satisfied with the color yet, so I heated up the pot and boiled the fabric for 30 minutes, stirring continuously. Originally I didn't want to boil the fabric in fear it might be damaging, but since it was a $2 sheet, I decided I wanted to try for a richer color. 
  • After boiling I allowed everything to cool, stirred several times, and let it sit another night. By mid-day the next afternoon, I then washed the fabric in my machine on cold and did 2 rinse cycles to follow. 

Following my dye experiment, I couldn't wait to turn the cotton into something wearable so this top happened shortly after!
The Pattern: Striped Linen Gathered Blouse Tutorial (free pattern!) by Fabrics Store
The Fabric: 100% cotton sheet, avocado dyed
The Process: After dyeing the fabric I simply cut out the pattern and followed the tutorial to create the blouse. I did 3 rows of gathering stitches and got the best gathers I've ever done!
Modifications: I made the smallest size and the shoulders and elbows were a little snug. So i let them out 1/4 of an inch into the 5/8 inch allowance and all was better!
Styling & Versatility: I haven't gravitated toward blush pinks or feminine gathers much lately. I've been drooling over clean lines and neutrals. But the natural shade of this pink is very appealing to me and the style of the tops seems to work well with it. I will wear this under sweaters, with a scarf, and hopefully enjoy it into the spring! It seems like a great top to wear around Easter when it's still cold, but you want those lighter colors.
Overal Review: For the pattern, I might suggest sizing up b/c of the slim fit of the arm, but overall it was a quick and painless make. The tutorial calls for linen but this heavier cotton worked very well. I am happy with the top and proud I branched out to try my hand at natural dyeing! I will deifintely be doing it again!