Yari Jumpsuit

Hi friends! It's been a while since my last post. Lots of life things have happened and kept me busy, but I've still been sewing up a storm (as documented by my Instagram account).
I'm back today to share a wonderful new pattern release with you...the Yari Jumpsuit by True Bias! Now, I promise, I sew other pattern designers other than Kelli...but hardly. Ha. She is just SO good at creating such wearable patterns! This new jumpsuit pattern can be made into pant or short form, sleeved or not, and has an optional d-ring addition which adds wonderful shaping. I chose to sew up the sleeveless pant version.

I was lucky enough to test for this jumpsuit and am happy to give you some details here and a few pictures (which sadly turned out a bit of an odd color). But hopefully they help you see the vision for this great and on-trend pattern.

The Pattern: The Yari Jumpsuit by True Bias
The Fabric: Thrifted mystery fabric in sage green (some kind of bottom weight cotton blend with perhaps some linen). I purchased over 3 yards for 99 cents!
The Process: I cut and sewed a straight size 2 in this pattern. Sometimes Kelli's patterns can run a bit large on me since I have a small bust. Kelli also uses herself as a fit model and she is 5'5''. So in hind-site I should have made a few adjustments to begin with, but I thought I would get a baseline. Next time I will add an inch or inch-and-a-half to the mid-section (I am 5'7'') so it doesn't ride up my behind. I will also take a wedge out of the neckline by a quarter of an inch to avoid gapping (again...small bust). I may also scoop out the armpits a touch as they ride up on me.
Cutting out the pant version is a little bit of a doozy since it's so long. I paid close attention to grainline and spent extra time making sure things were straight. This helped keep the pants from twisting in the final product. Assembling the pieces was simple and the pattern easy to follow. 
I'd never done a button placket quite like this one and I did wrestle with that bottom fold at the base of the pockets. It's not perfect, but hopefully my next one will be!
The neckline has a facing finish and the arms are finished with a bias binding.
You'll want to make sure you have matching thread for this project as there is much topstitching that shows.
Modifications: I made no modifications. Straight size 2.
Styling & Versatility: Honestly, I don't own many jumpsuits. But I love the look of them and I'm excited to have on in my closet now! I can see wearing this in the spring and fall paired with my Hampton Jean Jacket, or in the summer with my Birkenstocks while I chase my kiddos around. I think this pattern is so on-trend and just a fun piece to have!
Overal Review: On-trend pattern that will help you practice lots of different sewing skills! Also....POCKETS! <3

Lander Pants

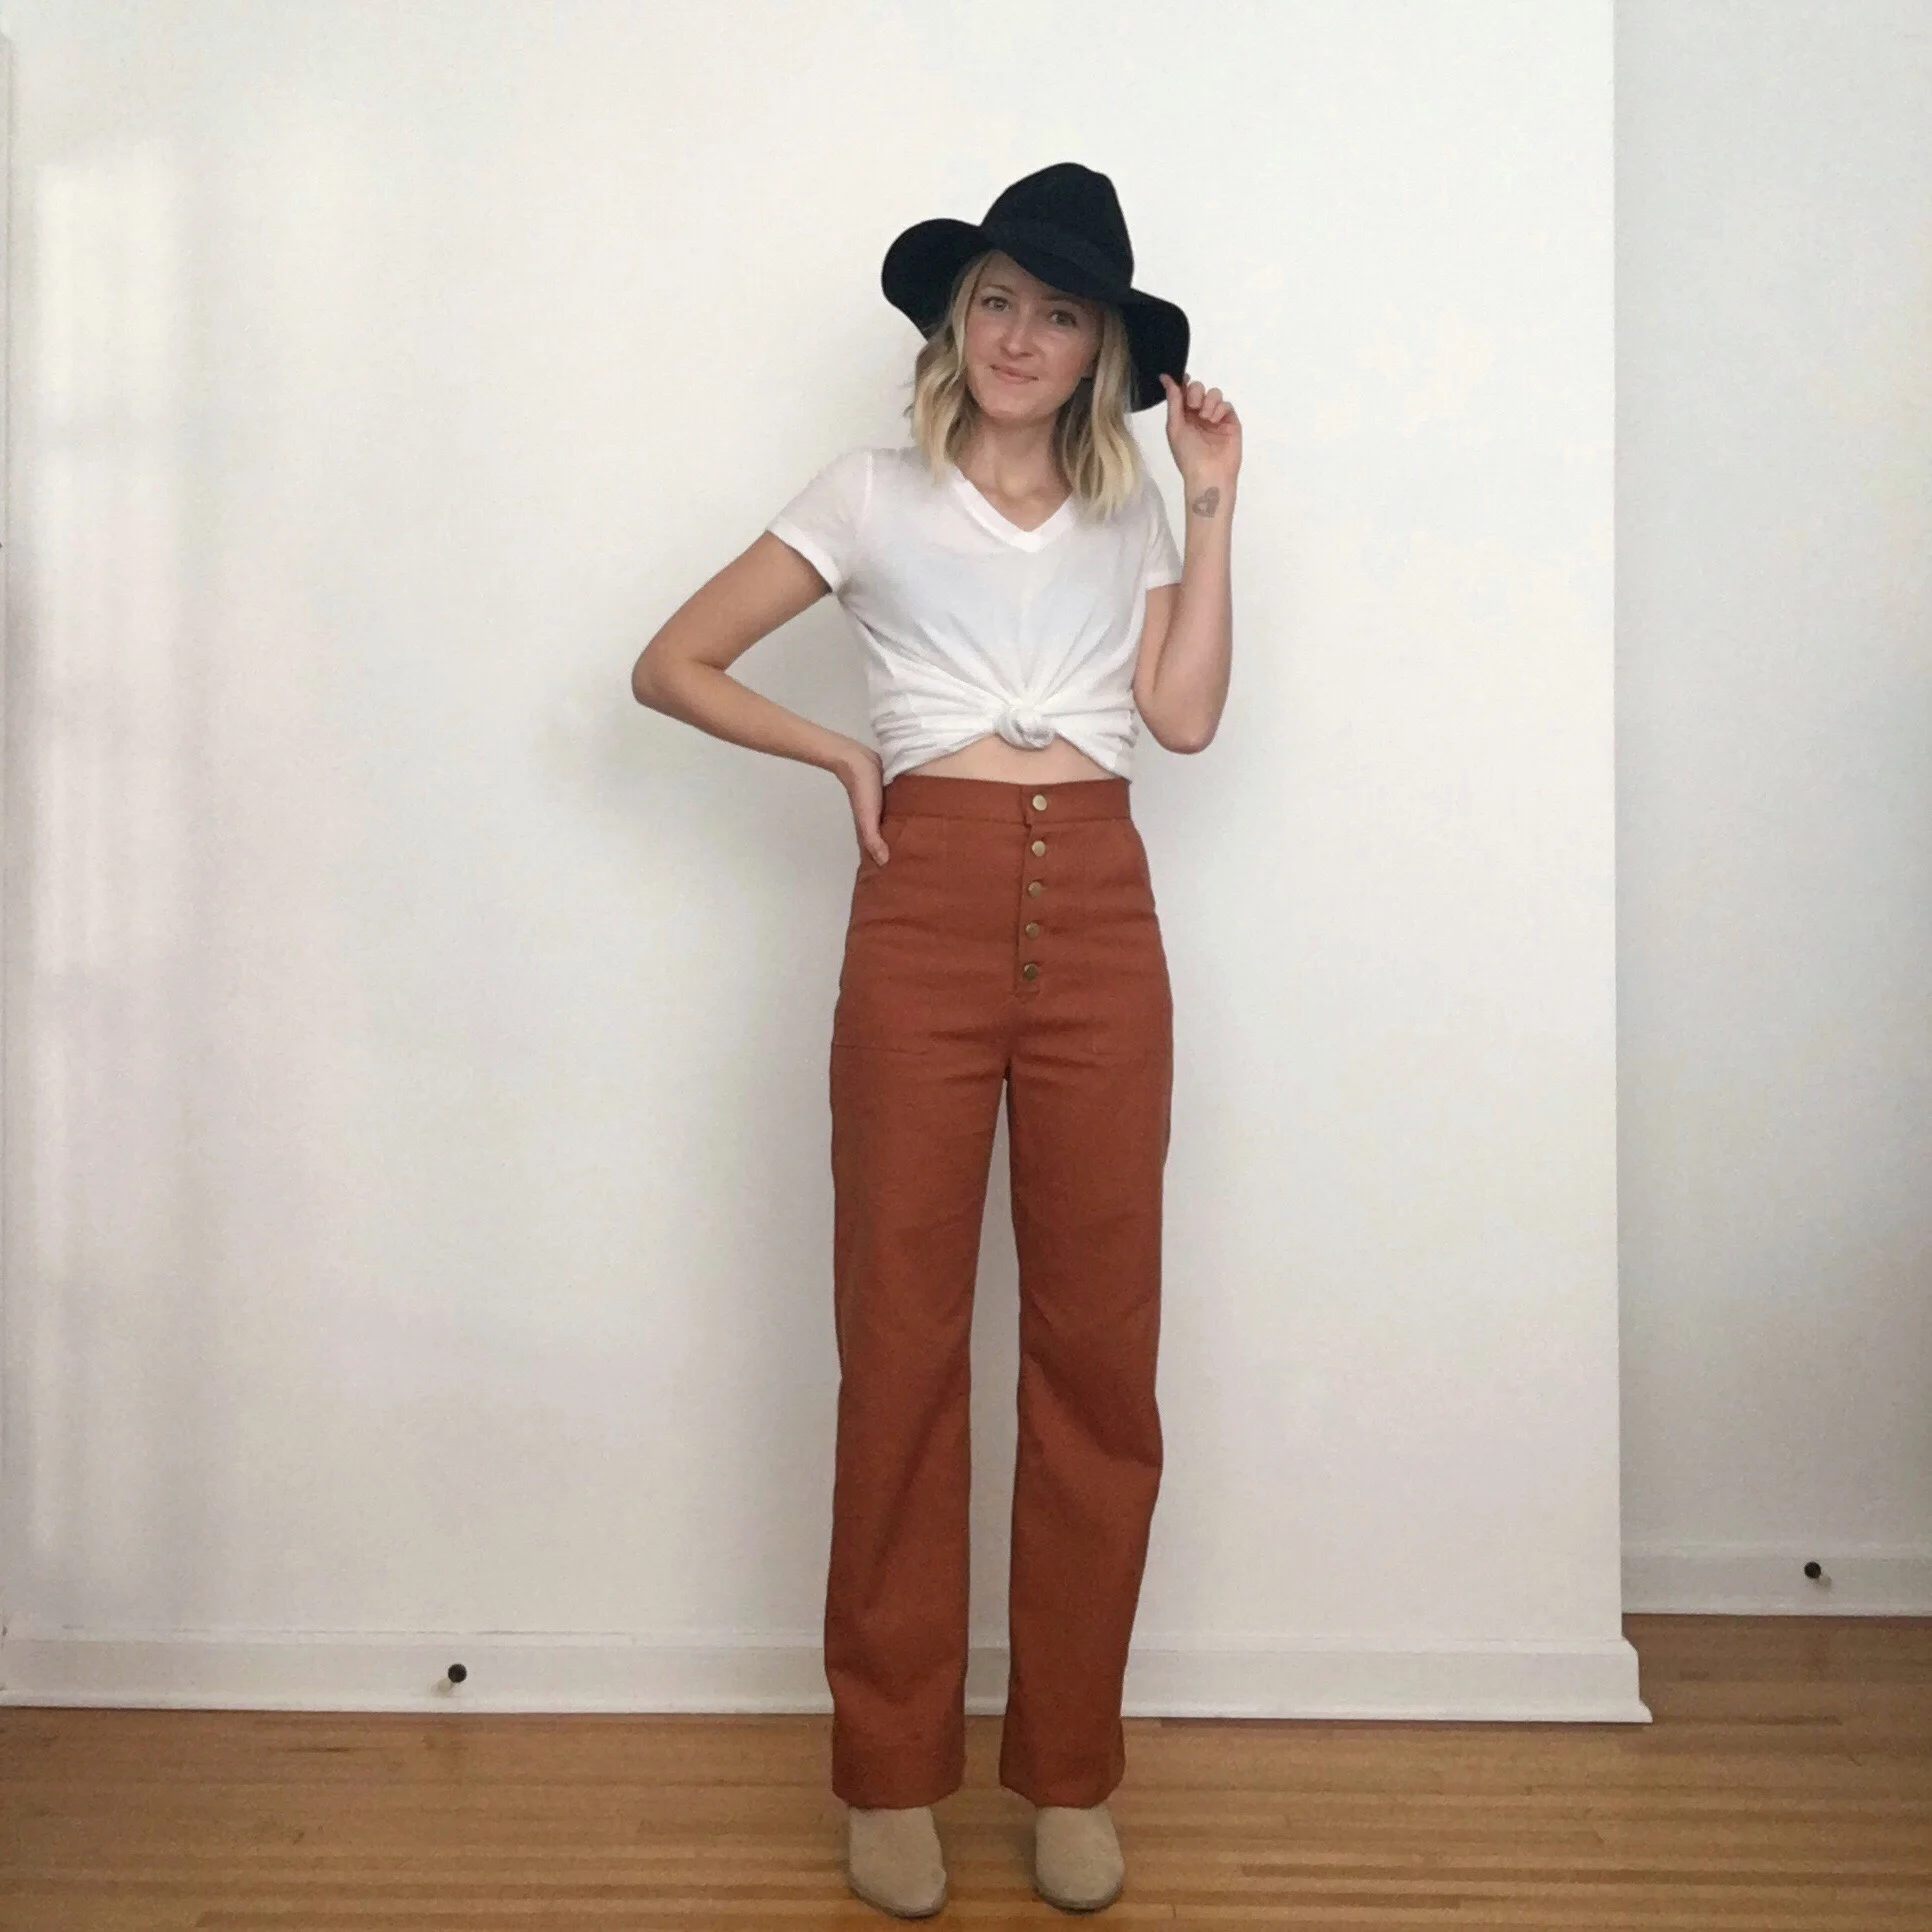
After many weeks and a muslin later, my Lander Pants are finally completed! This is a high-waist pant or short pattern with retro vibes and a sleek design. I learned SO much making these pants and am super super happy with the results. Here are all the details:

The Pattern: The Lander Pant & Short by True Bias
The Fabric: Ventana Twill from Fancy Tiger Crafts in 'Brick Brown'
The Process: Ever since Kelli released this pattern, I've been wanting to make the pant version. But I really wanted a warmer burnt brown color and that's just not easy to find (especially second hand). Kelli pointed me to Fancy Tiger's twill and the rich 'Brick Brown' color was out of stock. I emailed Fancy Tiger and they were able to re-stock it (thank you FT!) which settled my fabric hunt for these pants! I love this color even though it's a little out of my comfort zone (you will usually find me in camel, navy, black, and grey). 
Next, I wanted to add to the rise of the pant, so following Kelli's lengthen shorten line, I added 2 inches to all relevant pattern pieces (check out her sew-along, that was very helpful). 
Modifications: I omitted the belt loops for a more clean-line look. I added 2 inches to the rise as well as took in the hips a bit to create less fullness and achieve a straight edge all the way down. Due to the rise, I added one more button to ensure they closed nicely with not gaping. In hindsight I could have sized down in the twill because it has more stretch than the fabric I used for my muslin. Lesson learned!
Styling & Versatility: Like I said, these pants are a little out of my comfort zone color-wise and to be honest, shape-wise. I've been a skinnies girl for years, but I really love the Kamm pant look and wanted to give it a try myself! Since most of my closet is neutral, I think these will add a fun burst of color!
As winter comes to an end, I'll be wearing these with sweaters and cardigans, then boxy tops as spring approaches. I think they will be really fun for next fall paired with heeled booties and oversized scarves.
Overal Review: If you've never sewn pants before, these will give you many chances to grow in your sewing knowledge. But they are not difficult if you take your time and follow the instructions and sew-along. I think choosing the right weight of fabric is key for these pants. I want to make another pair in the future, possibly in a dark khaki, with a zip fly for an even cleaner look.

Nikko Top by True Bias

I'm REALLY excited to share with you the latest pattern release by True Bias...the Nikko Top & Dress. Kelli reached out to see if I would be one of her testers for this pattern and of course I said 'yes!'.
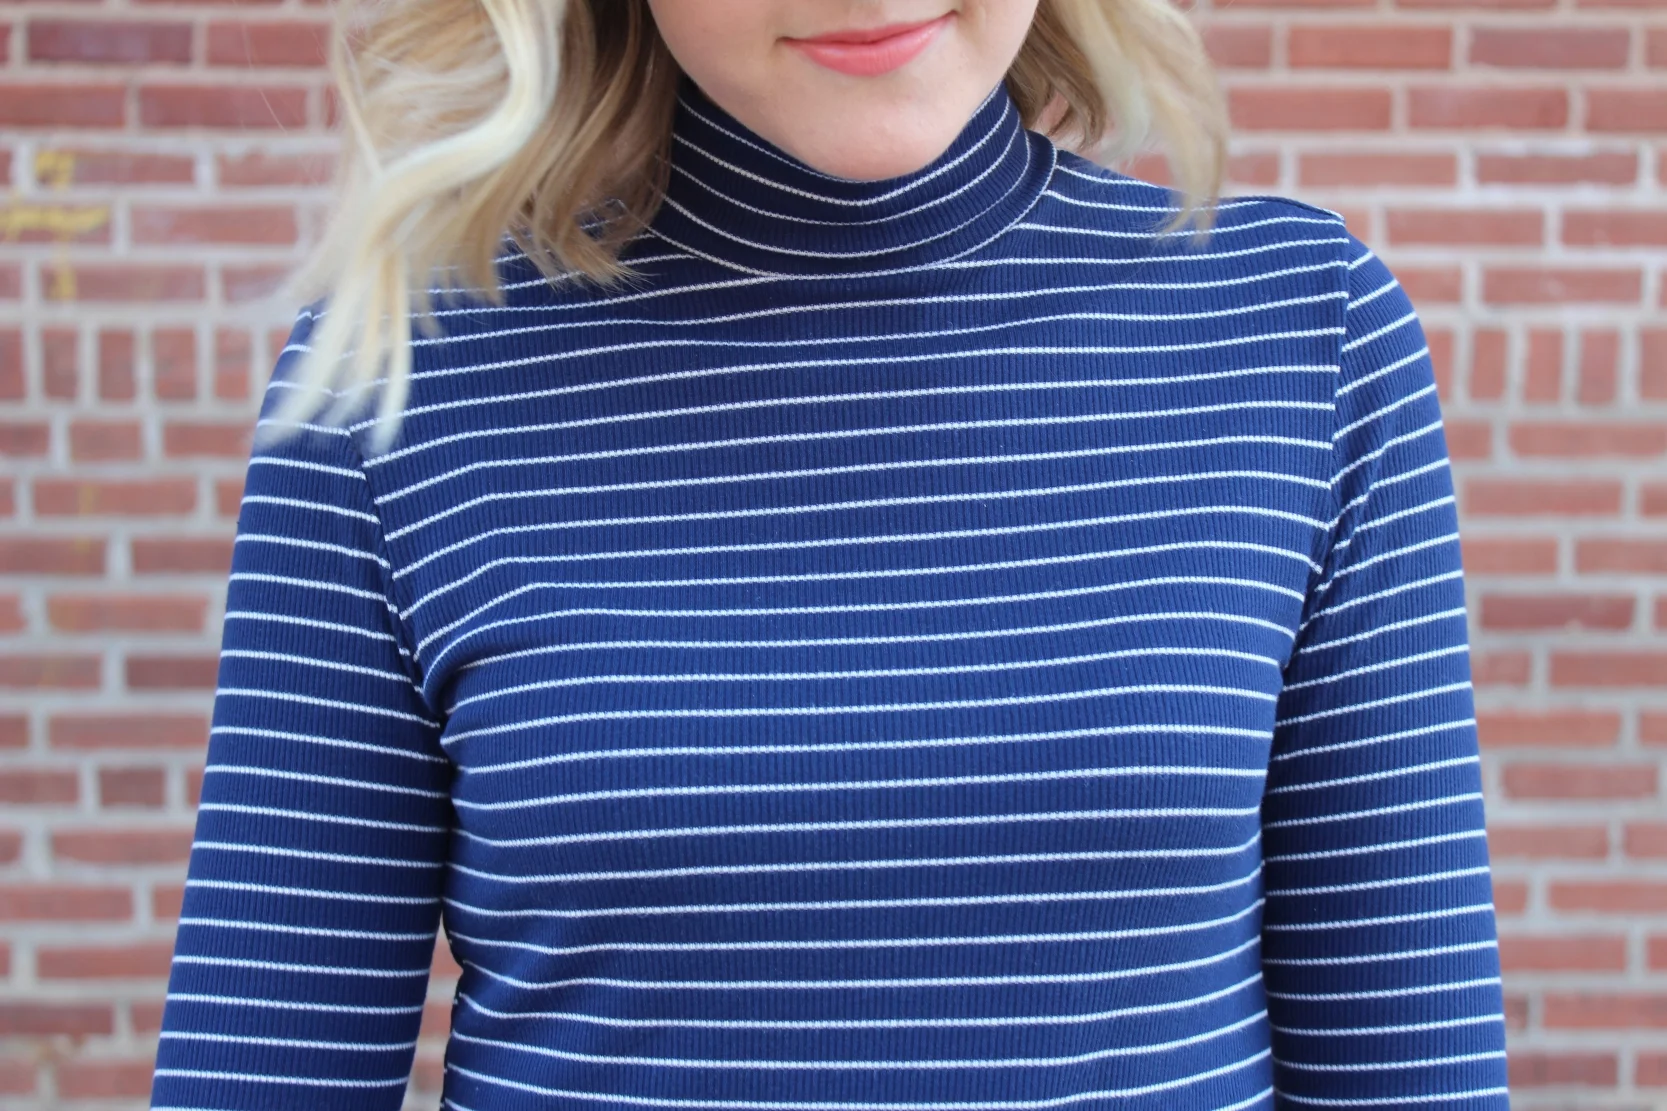
This is a mock-neck style top which utilizes a knit fabric. You can choose the sleeveless version for either the top or dress. I made the long sleeved top in a striped ribbed jersey. 

The Pattern: The Nikko Top & Dress by True Bias
The Fabric: Ribbed knit jersey from Joann's Fabric
The Process: I made several versions of this top before landing at just the right size and fabric. The first run I sewed up a size 0 and the fit was uncomfortably tight. Kelli's patterns tend to run a little big on me, but not in this top. After one more attempt with some unruly fabric, I finally found this cute striped jersey at Joann's and it was the perfect choice for this pattern. I sewed up a size 4 and the fit is so much better. Be mindful to follow Kelli's suggestions for fabric (i.e. the stretch and recovery), or you might end up with a few failed attempts like me!
Modifications: I shortened the top by 1 inch following the 'lengthen shorten' line. I prefer my tops not to be super long b/c they tend to bunch up in my jeans.
Styling & Versatility: When I saw this pattern I may or may not have squealed in excitement to myself. :) Over the last several years I have enjoyed wearing high-necked tops and love how warm they make me feel. The Nikko is a wonderful staple wardrobe piece that is easily mixed with sweaters, tucked in or out, layered or not. I want to make several more of these tops to add to my fall and winter wardrobe! I think the Nikko would be well-paired with the Lander Pant and I fully plan on doing this as soon as my Landers are completed!
Overal Review: No brainer. Great pattern. Wardrobe staple. Get it!

Ogden Cami for Fall

When you think of a camisole, Fall weather doesn't usually come to mind. But if you live in the midwest in the months of September and even October, afternoon temperatures can creep into the upper 80's. A cami/tank can be layered under a sweater for cool mornings then stand alone later in the day (when you are chasing your children around at the park!).

The Pattern: Ogden Cami by True Bias
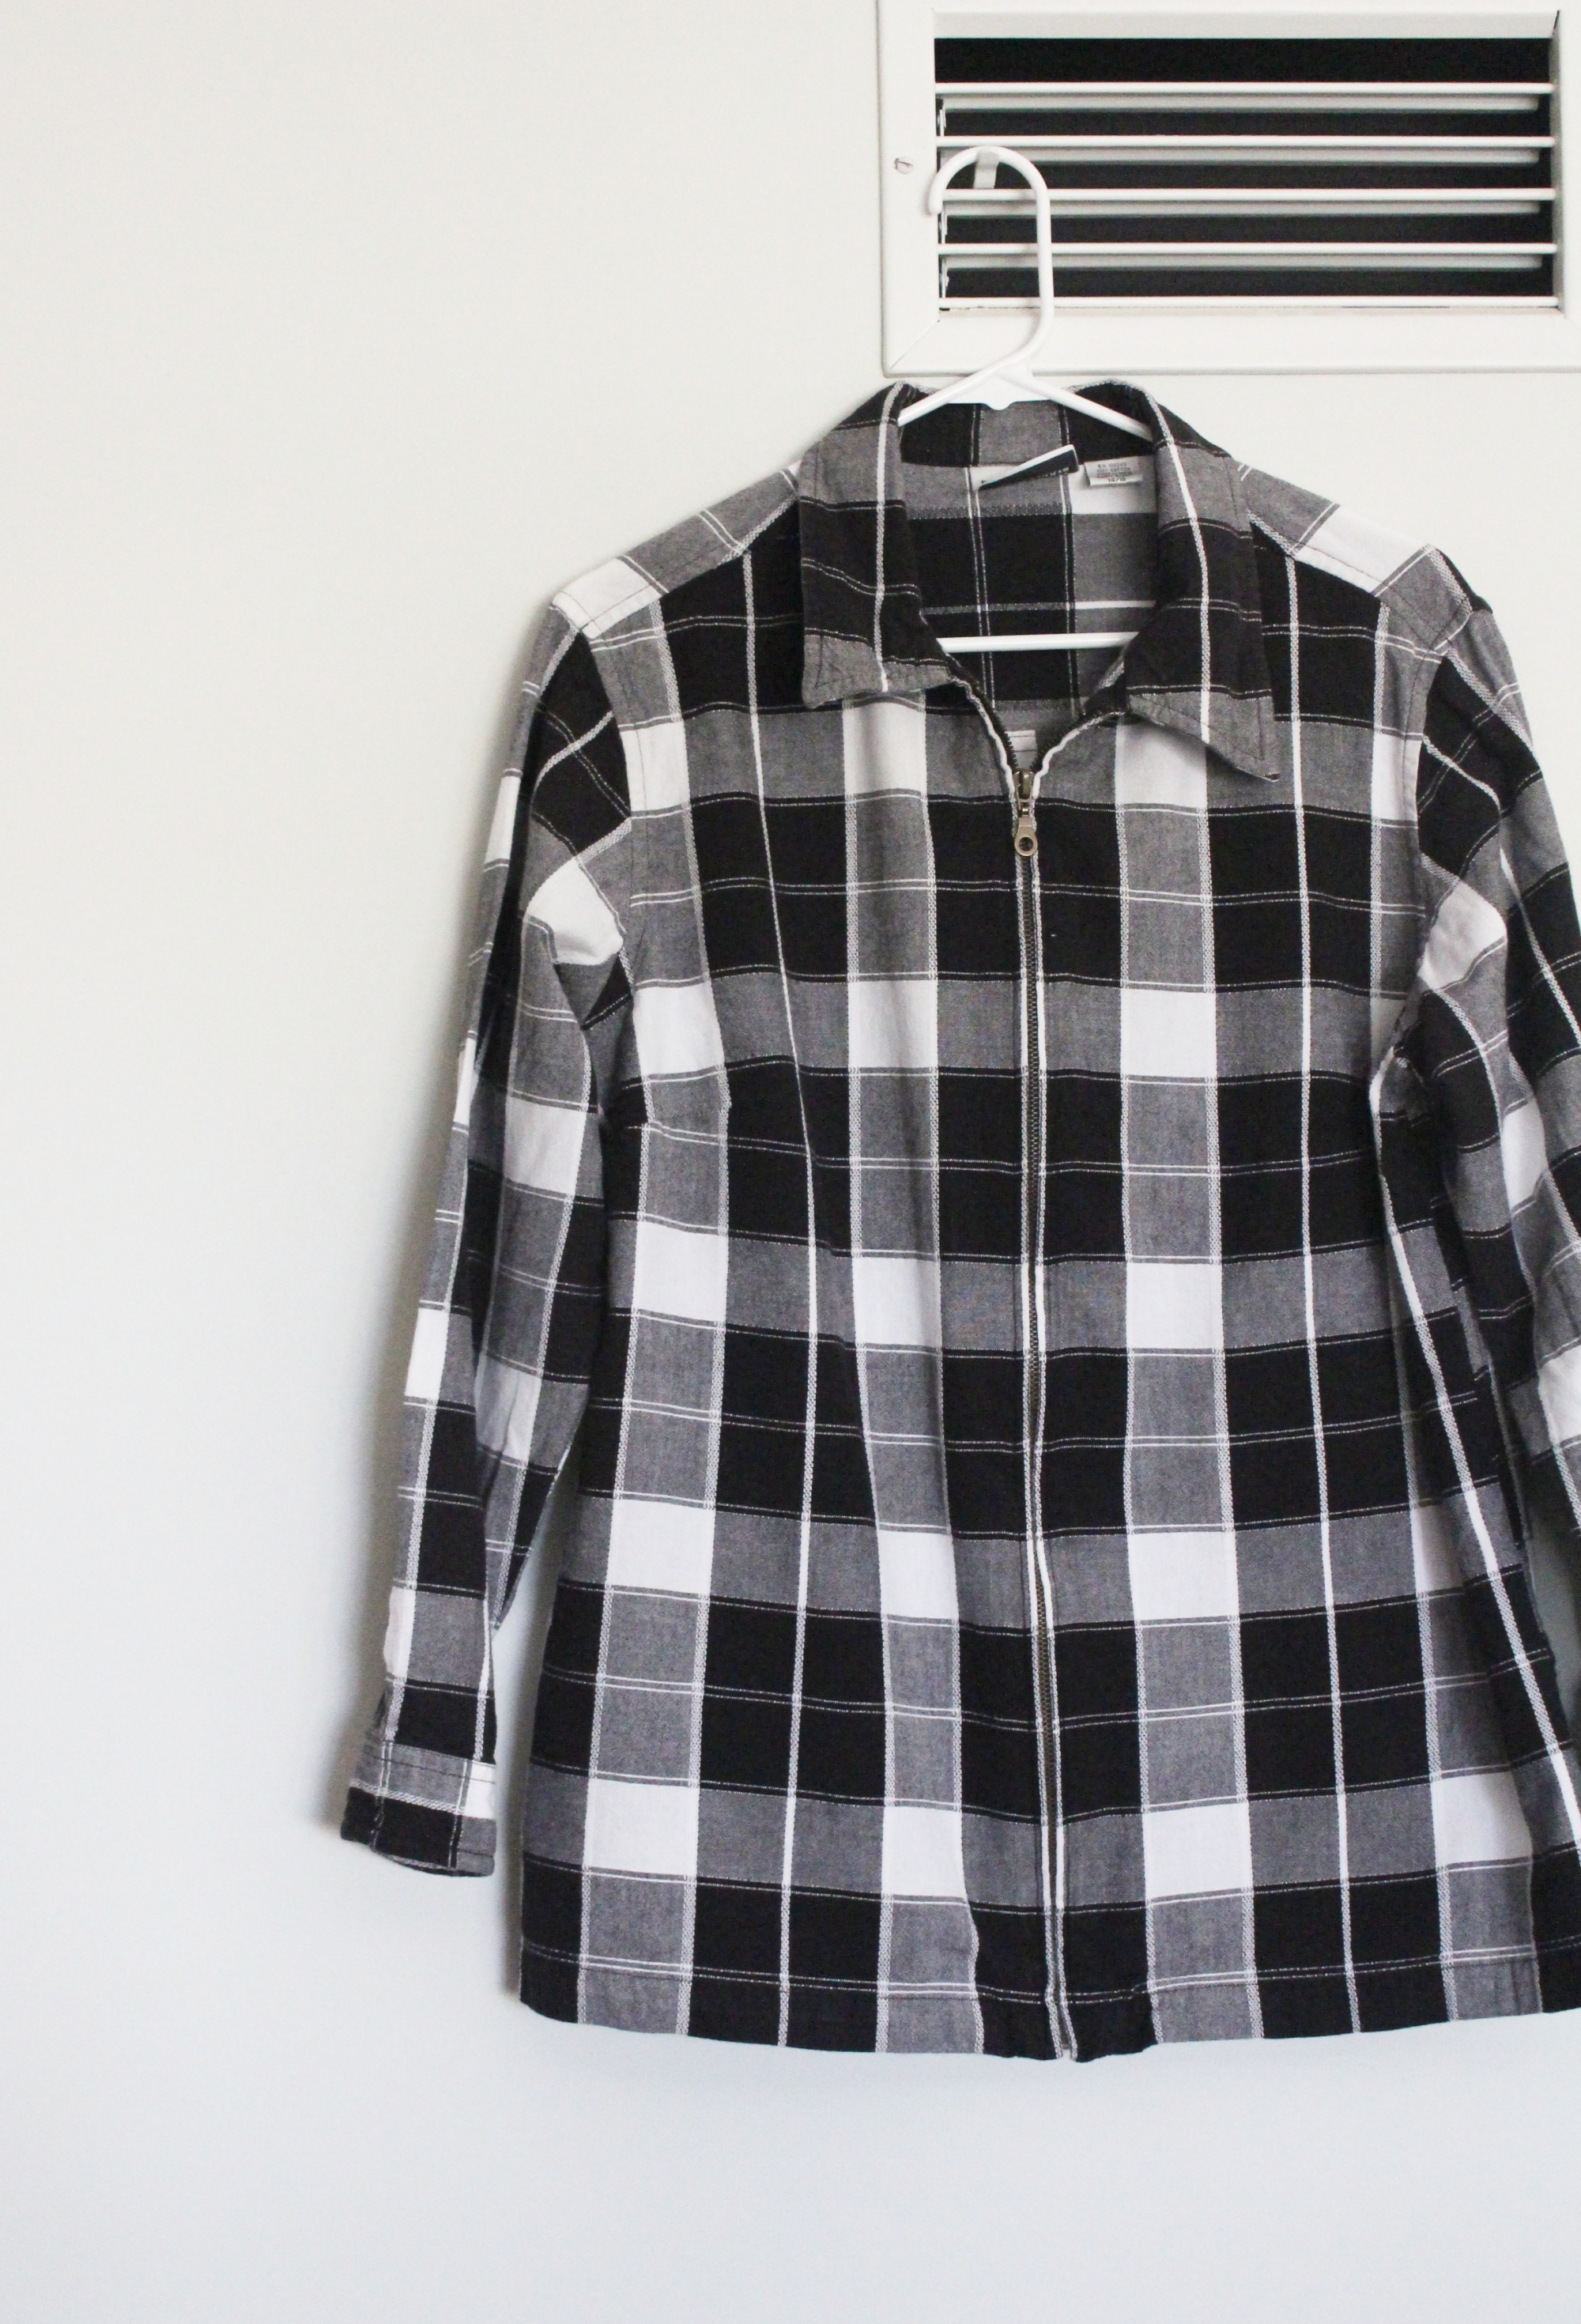
The Fabric: 100% cotton for the main fabric, taken from a second-hand size 14/16 ladies jacket (see pic below). 100% linen used for facing, taken from scraps in my stash. I selected fabric that had sun fading since it would be used for a hidden facing...a great well-fibre practice and way to use up damaged fabric and scraps!
Modifications: I sized down one size for this top. Due to fabric restrictions, I brought in the side seams by 1/2 inch and created a more boxy affect by straightening out the hem and shortening. The back piece was sewn with a middle seam (it calls to be cut on the fold) since I used the front panels of the thrifted jacket to create the cami. I also chose to do a 1 inch bottom hem to give the top more weight and a slight cropped look.
Styling & Versatility: I wore this top layered over a pair of linen pants for a transitional Fall look. I could also see myself throwing a white t-shirt underneath for added warmth (and a slight 90's vibe). I kept the length long enough to be paired with a high-waisted skirt. Looking for versatility in each garment I make is highly important to me as I curate a self-sewn closet and continue to work toward a capsule wardrobe.
Overal Review: This pattern is a quick sew and a great one for an advanced beginner. The straps and facing add a little bit of a fun challenge. This was my first time under stitching and I love the affect it has in keeping the facing hidden. I can see myself making more of these camis in the future. A great staple pattern and one that can be easily made with second hand fabric since it doesn't require much!

Here is the jacket in its original form. I was drawn the the colors and pattern of the fabric as well as the fact that it had large pieces to work with. The zipper was set aside for future use! It's a great heavy zipper.