Avocado Dyed Gathered Blouse

For the last several months I have been saving my avocado pits, waiting to have enough to naturally dye a large piece of fabric. We've been pretty cooped up due to the cold, so last week seemed like the perfect chance to try this new adventure!

  • To begin I boiled 15 avocado pits in my large pot for several minutes then simmered the pits for 2 full hours. Most tutorials say 30 minutes to an hour, but I was hoping to extract as much color as possible. The water turned to a beautiful red color.
  • Next I strained out the pits and little remnants and added alum in proportion to the amount of water (alum purchased through Amazon).
  • Once that was dissolved I soaked my fabric in warm water making sure it was thoroughly damp. This helps the color take more evenly. I used half of a 100% cotton sheet I recently found second hand. It is a very high-quality sheet with a high thread count.
  • I stirred the fabric in the dye bath and made sure it was completely covered. The canning accessory came in handy to weigh down the fabric and keep it submerged. I let the fabric sit overnight in the dye, stirring a few times before I went to bed. In the morning I wasn't satisfied with the color yet, so I heated up the pot and boiled the fabric for 30 minutes, stirring continuously. Originally I didn't want to boil the fabric in fear it might be damaging, but since it was a $2 sheet, I decided I wanted to try for a richer color. 
  • After boiling I allowed everything to cool, stirred several times, and let it sit another night. By mid-day the next afternoon, I then washed the fabric in my machine on cold and did 2 rinse cycles to follow. 

Following my dye experiment, I couldn't wait to turn the cotton into something wearable so this top happened shortly after!
The Pattern: Striped Linen Gathered Blouse Tutorial (free pattern!) by Fabrics Store
The Fabric: 100% cotton sheet, avocado dyed
The Process: After dyeing the fabric I simply cut out the pattern and followed the tutorial to create the blouse. I did 3 rows of gathering stitches and got the best gathers I've ever done!
Modifications: I made the smallest size and the shoulders and elbows were a little snug. So i let them out 1/4 of an inch into the 5/8 inch allowance and all was better!
Styling & Versatility: I haven't gravitated toward blush pinks or feminine gathers much lately. I've been drooling over clean lines and neutrals. But the natural shade of this pink is very appealing to me and the style of the tops seems to work well with it. I will wear this under sweaters, with a scarf, and hopefully enjoy it into the spring! It seems like a great top to wear around Easter when it's still cold, but you want those lighter colors.
Overal Review: For the pattern, I might suggest sizing up b/c of the slim fit of the arm, but overall it was a quick and painless make. The tutorial calls for linen but this heavier cotton worked very well. I am happy with the top and proud I branched out to try my hand at natural dyeing! I will deifintely be doing it again!

2018 Sewing Goals & Life Balance

2017 brought the birth of this blog (and Instagram) which helped launch me more fully into my passion for sewing and repurposing fabric. I have a lot to be proud of in 2017 but there is one thing I'm seeking to be better at...balance.

The last few months of 2017 I pushed myself to sew almost every day and keep up with the 'output'. This left me feeling burnt out pretty quickly and longing for a way to pursue other creative passions as well as my biggest love, sewing.

SO, with that in mind I have a new system for 2018 that I'm going to try! Utilizing the free 2018 Sewing Calendar from Sew DIY, here is my plan...

Every 2 weeks I will allow myself to begin a new garment leaving plenty of space in that 2 week gap to:

  • take my time sewing, paying attention to strong finishes and simply enjoying the process of making
  • tidying up my space as I go along instead of jumping into the next project before cleaning up the last
  • allow space for smaller sewing projects like mending, altering, and taking care of the clothing I already own
  • try something new such as my new punch needle, embroidery, or playing with scraps
  • focus time on other important pursuits like my personal physical health (i.e. going to the gym), my spiritual health (i.e. daily time in the Bible), meal planning and working toward more whole food eating for me and my family (including learning how to make sourdough!), and maintaining a cleanly and orderly home (like doing dishes/laundry more regularly, organizing storage room, etc)

I shared on my Instagram my #2018makenine which has been really helpful in anchoring down my makes to spread throughout the year. Scattered in-between these 9 items I plan to do other projects and garments, but I know I will be really proud if I can take my time to create 9 solid, well-made items this year. I selected patterns for garments that would fill holes in my closet and challenge me personally. I plan to make muslins of most of the items to give attention to fit and fabric choice.

In all of this I hope to slow down a bit in order to give my best intention and effort into each area of my life, family, and home. Sewing is such a high for me I can easily neglect other important things and I don't want to do this. By creating this system, I pray I can enjoy my craft, learn new things, be present with my family, and keep a happy orderly home.

Praying you have a wonderful 2018 and meet the end of this year with a sense of accomplishment and growth!

Star White

Holiday Kimono

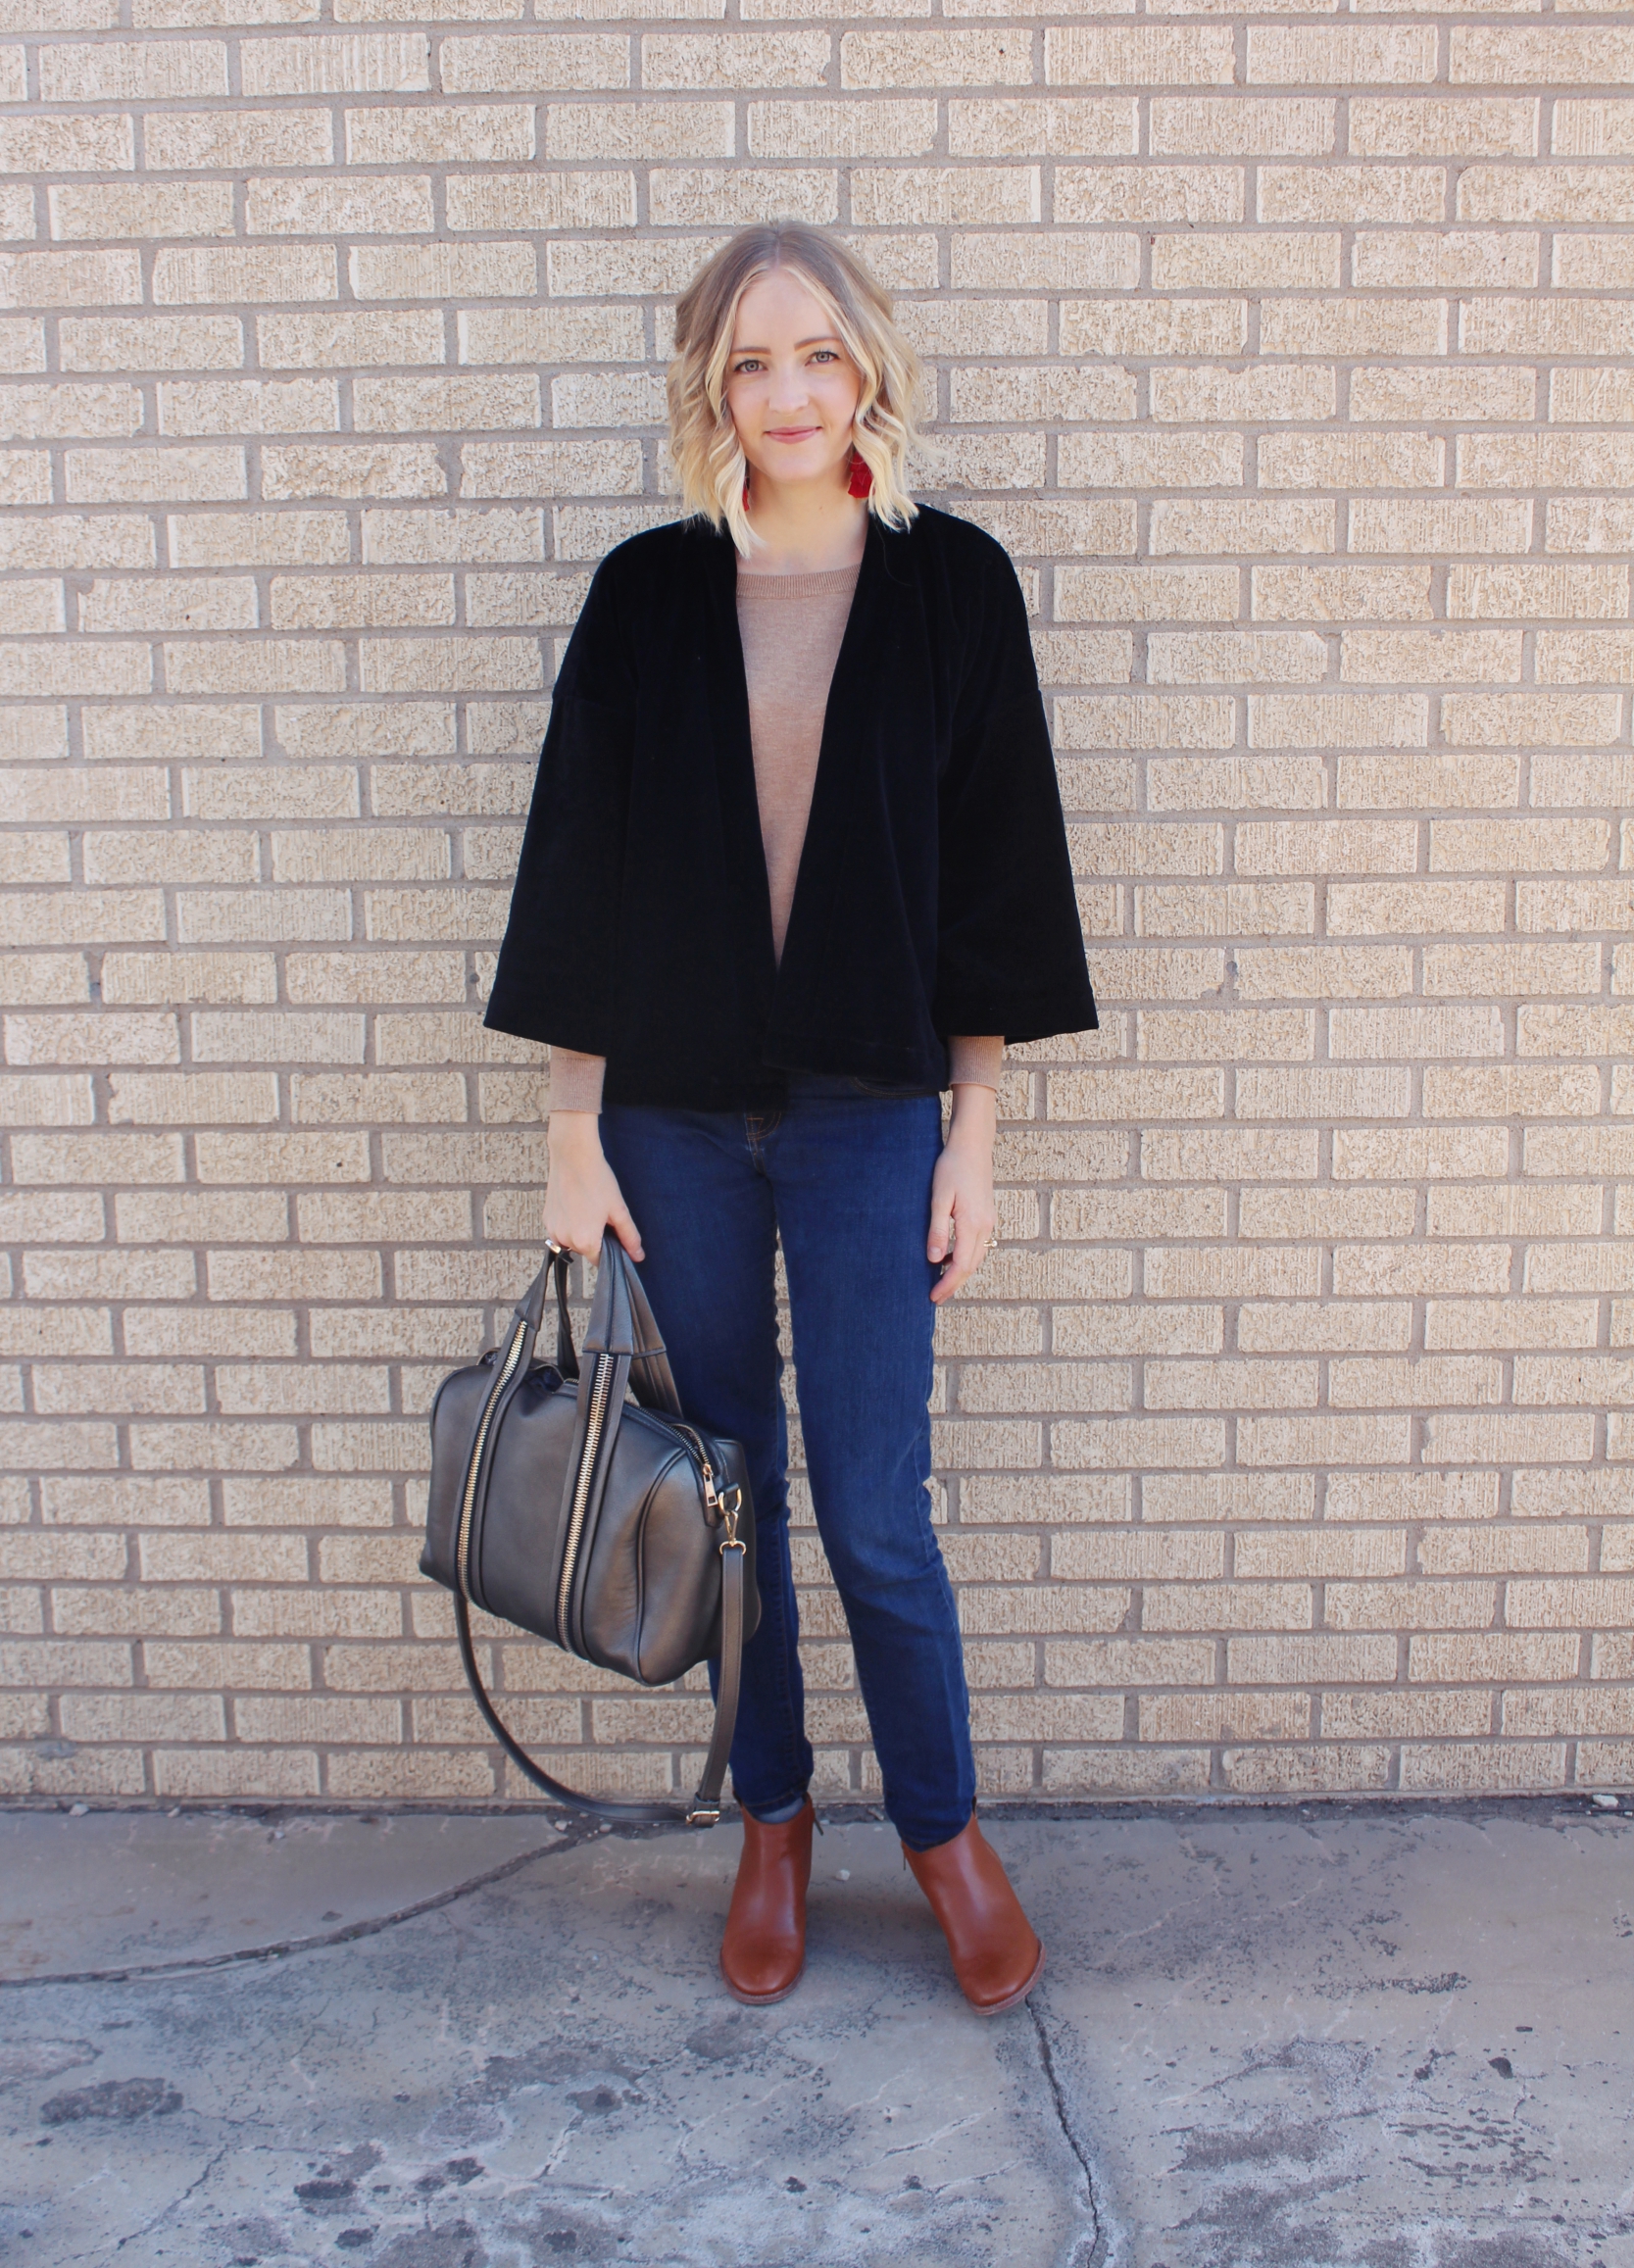
When I found this large second-hand Liz Claiborne velour dress I knew exactly what it was to become...a kimono. There was enough fabric to work with and with the holidays coming, why not!? Velour and velvets are easily dressed up, but being a stay-at-home-mom I wanted a more dressed-down way to enjoy this trend.

The Pattern: Kimono by Sew Over It London
The Fabric: Cotton/poly blend velour taken from a vintage Liz Claiborne dress
The Process: To begin I simply carefully cut apart the dress making sure to save as much fabric as possible. I laid out each piece then placed my pattern on top to ensure there was enough. I had JUST enough length from my largest pieces to create the back and 2 front panels. Then the bodice of the dress became the sleeves and neckband. I used my serger to put everything together and learned a lot about my serger settings a long the way (the girls from Sewing Outloud are amaaaaazing).
Modifications: I veered from the fabric recommendations on this pattern, but I think it turned out ok! I also had to piece together the neck band in 3 sections due to fabric restrictions (but the velour is forgiving b/c of the nap so you can't tell!) 
Styling & Versatility: To be honest, when I started making this I hadn't thought of how I'd wear it. So when it came time to put an outfit together I struggled a bit. But I think this kimono could work over a basic white t-shirt or even over a nicer dress for a holiday gathering. For these pictures I paired it with a simple camel colored sweater, jeans, and festive earrings for church. 
Overal Review: I can't believe I've never sewn with knits before this, particularly velour. It was dreamy to work with and such a breeze to make into a kimono when using an overlocker. I chose the Sew Over It pattern b/c it comes with a short and long version of the kimono so I can use it in future. I love boxy shapes and clean lines so this pattern is a winner for me!
I hope this piece gets worn a lot b/c I want each article in my closet to be a team player. But even so, it's fun to have a few holiday-ish items to mix in during December each year.

I have a few more things to sew up before Christmas arrives so stay tuned! I hope you each enjoy this wonderful (yet sometimes hectic) season! <3

Advent Calendar

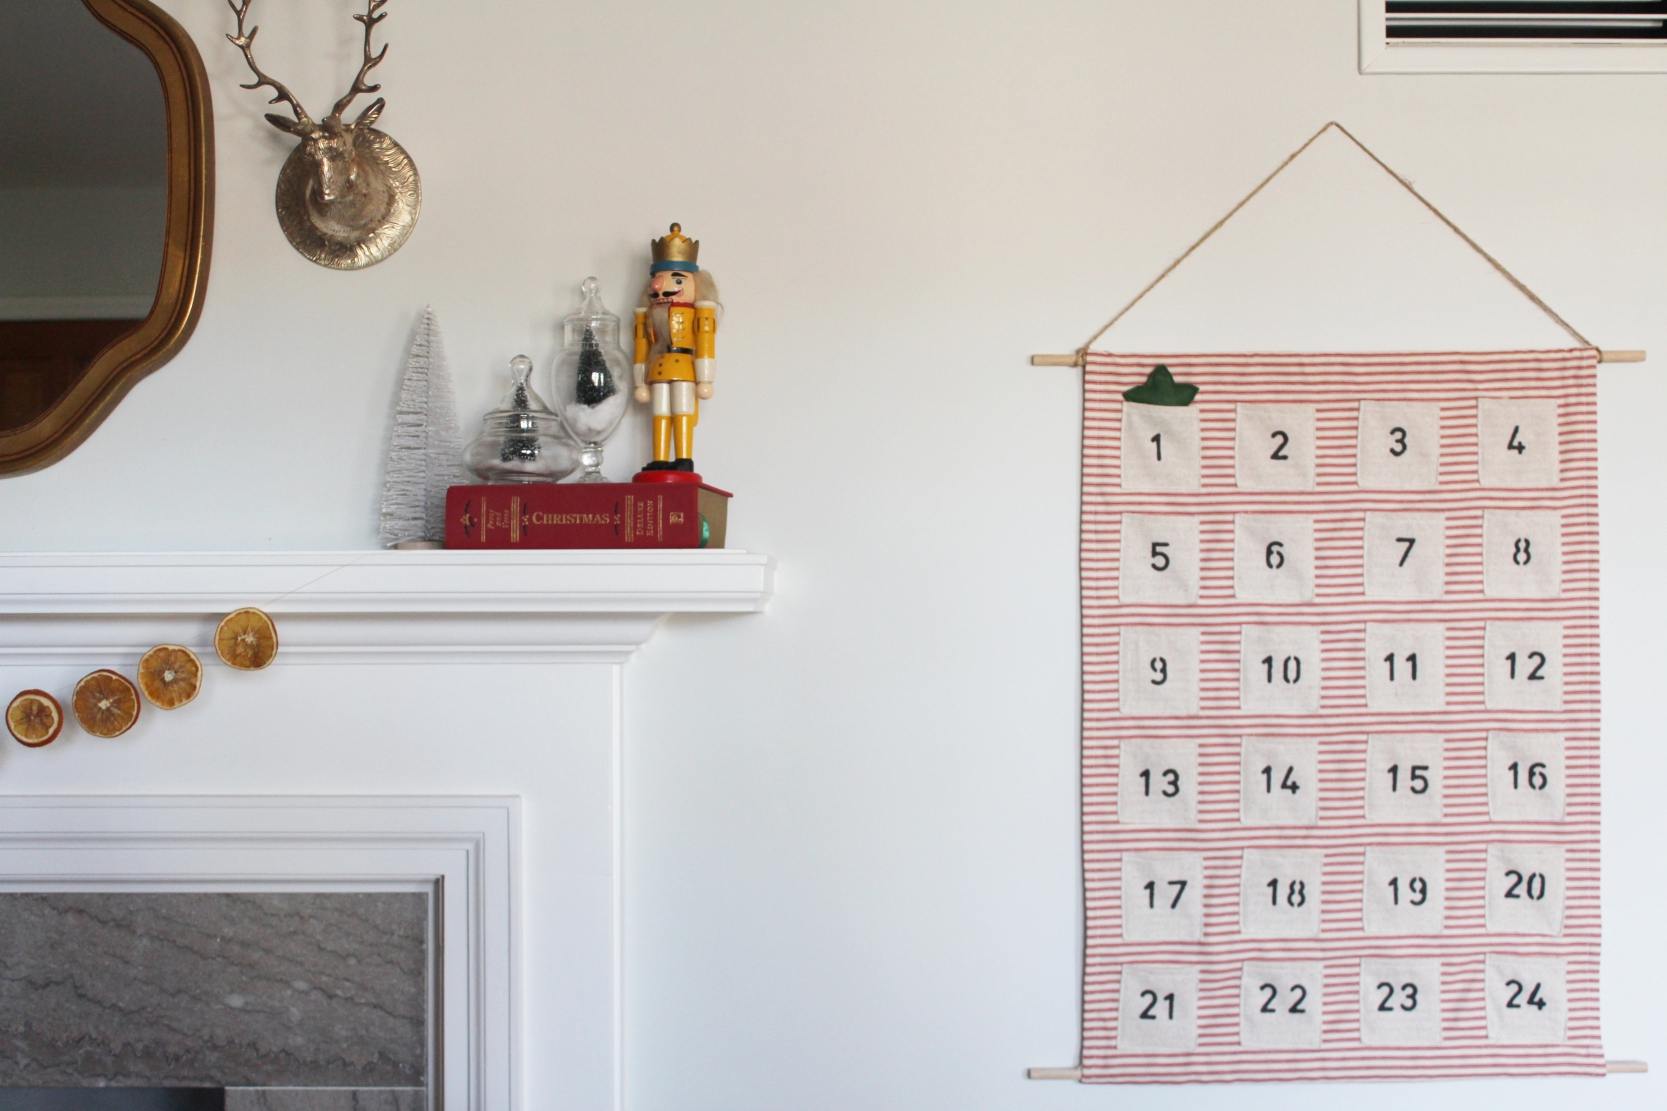
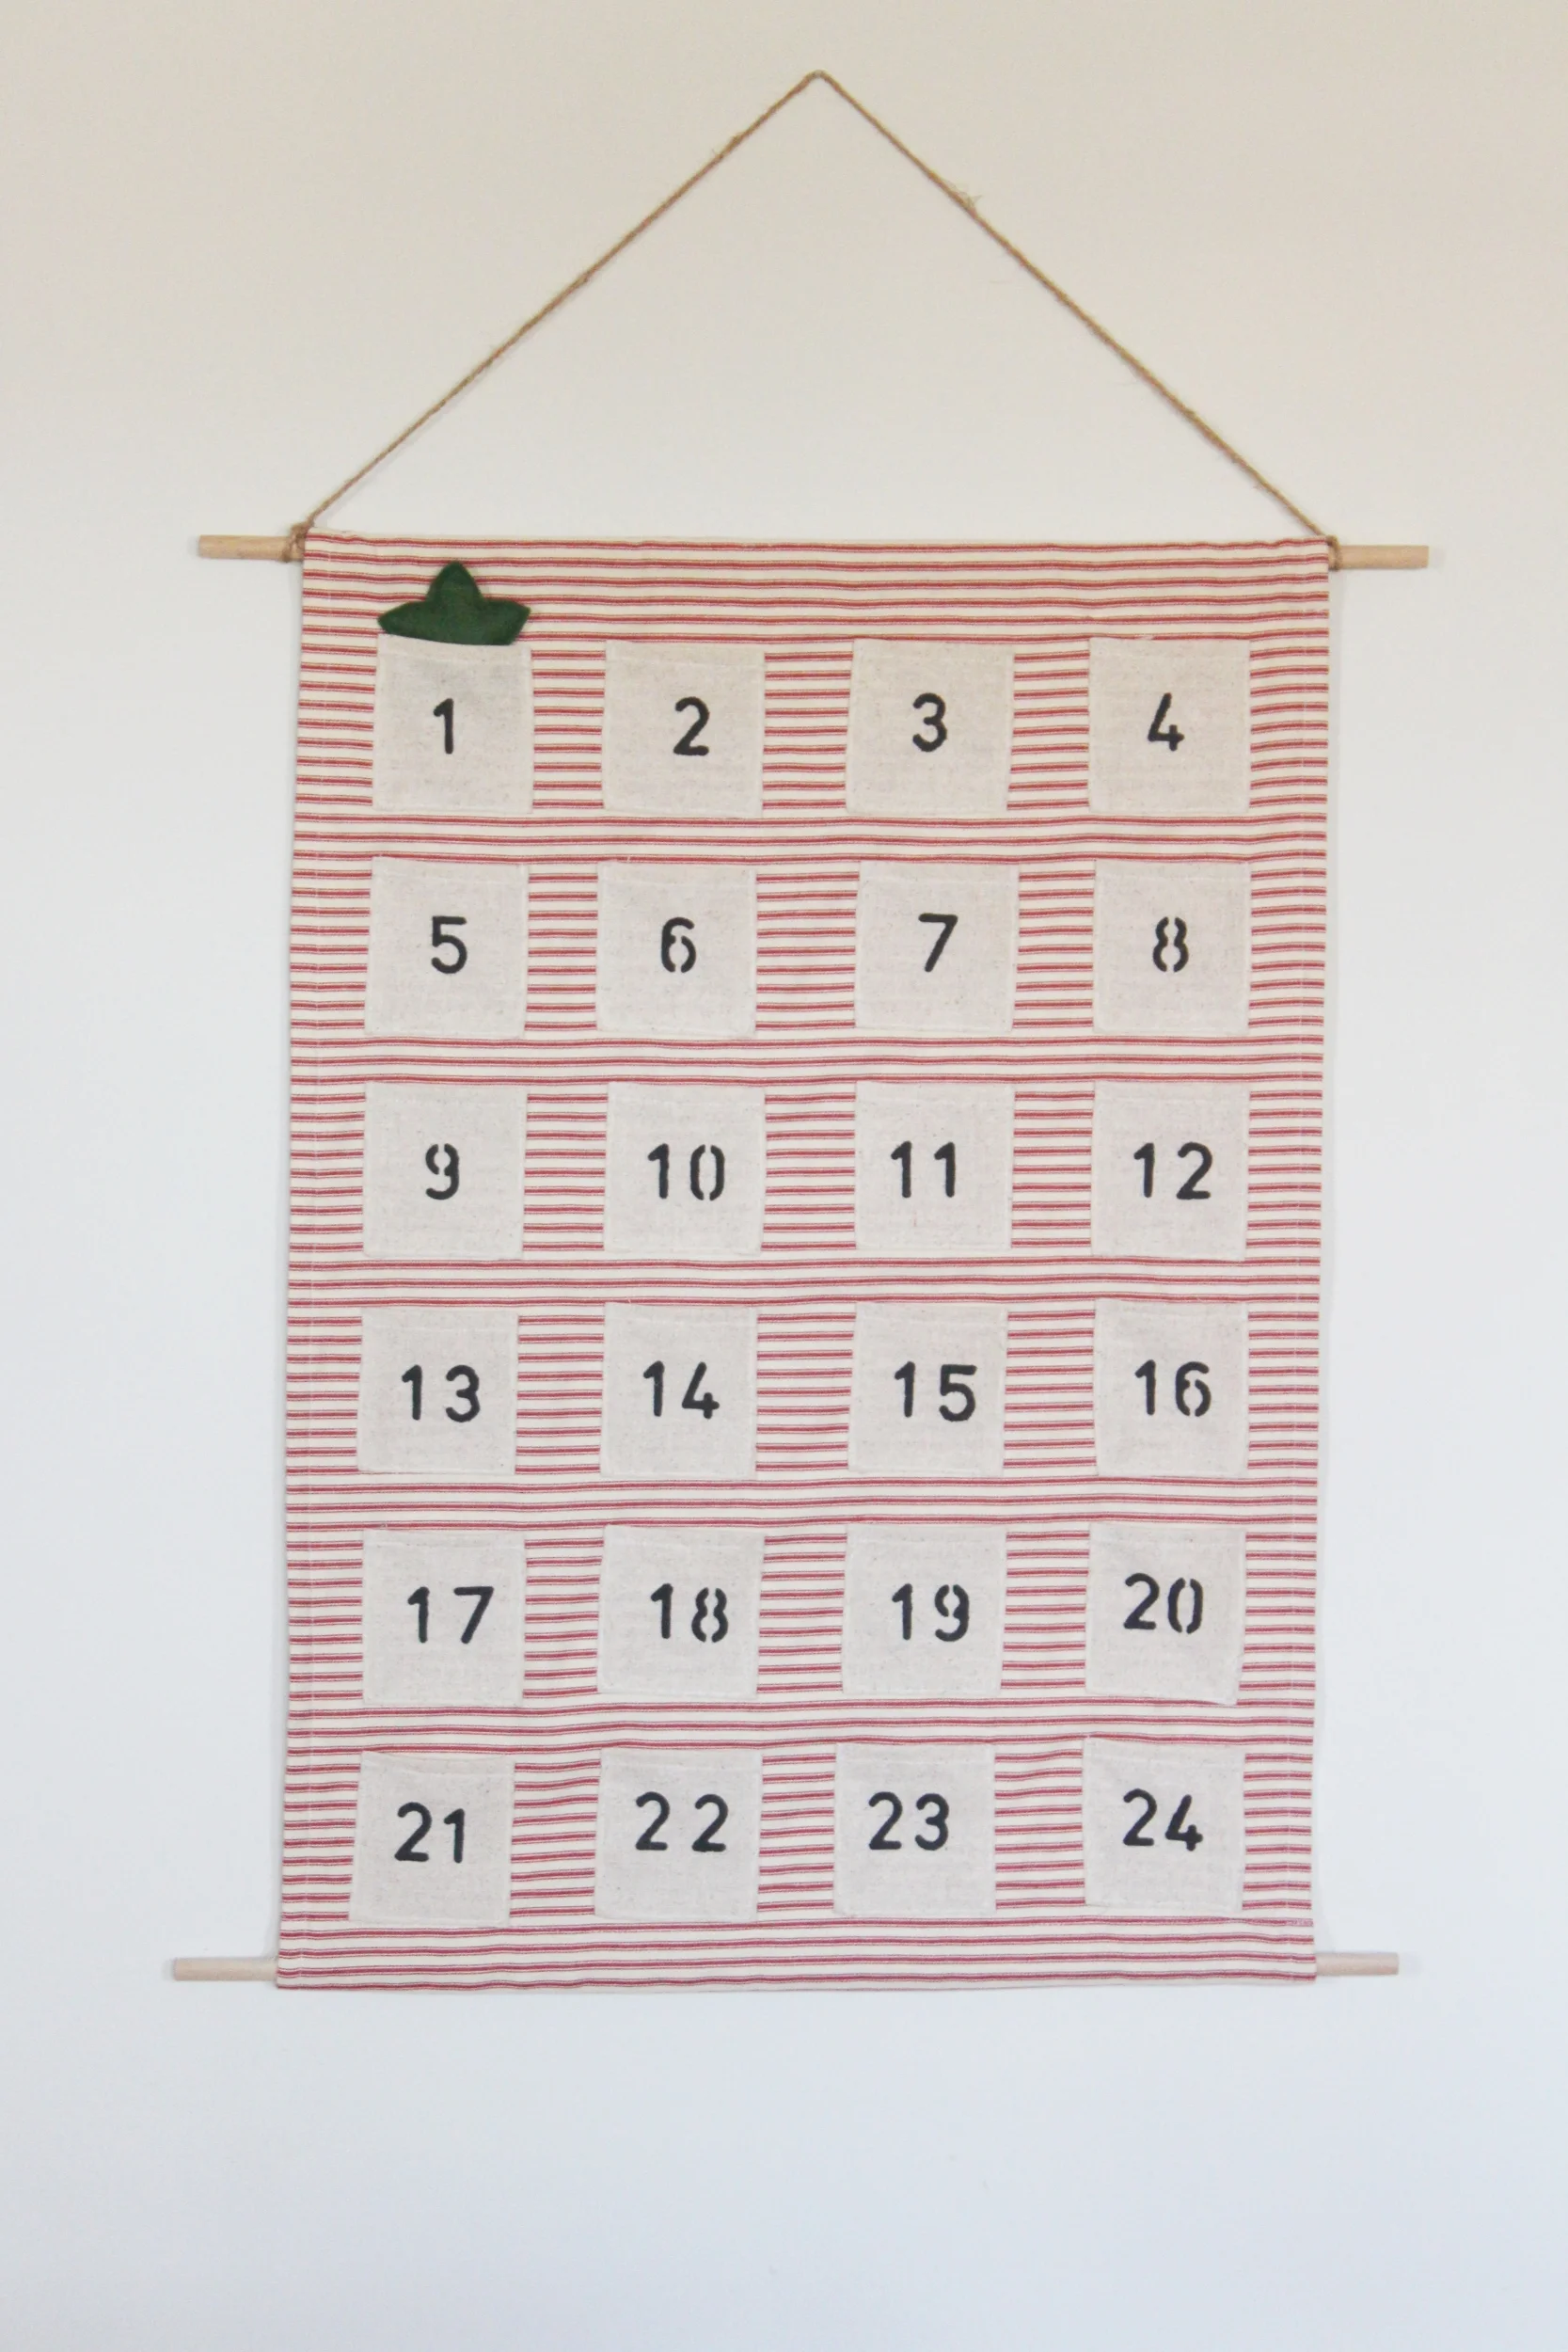
The first of December has finally arrived! This year I wanted to make an advent calendar to help teach my children the importance of this season of anticipation. Some choose to fill their calendars with small gifts as we celebrate the arrival of our true Gift from above. To avoid cluttering up my home with more knick-knacks, I decided to simply make a felt star for my kids to move from one day to the next as we near Christmas. Each day we will read an advent reading (we are following the Jesus Storybook Bible countdown) as we sit around the breakfast table.

As I get older, the importance of advent, of waiting, of breathing in each season...these things grow stronger. Anything I can to do help us slow down and soak in the richness, I'm game for. I largely borrowed this template for my calendar, using her measurements. I ordered my number stencils on Amazon and simply used fabric paint. This time I purchased my fabric new (something I rarely do) because I had a specific vision in my mind for what this calendar should look like. I wanted something timeless we can pull out year after year and hang on the wall. The classic red ticking fabric adds a touch of cheer to an otherwise very simple calendar.

May you be blessed this Christmas season! I'll be back to garment sewing very soon and have some fun plans in store! much love!

Hampton Jean Jacket + Discount Code

Today I am honored to be the final blogger in a blog tour hosted by Alina of Alina Design Co. When Alina reached out to see if I would create a version of her Hampton Jean Jacket, several thoughts ran through my head:
'WOW! I'm so honored Alina would think of me!'
'Dang...a jean jacket. I don't think I'm advanced enough to do that.'
'If I say 'yes', could I make it in a way that is in line with my passion for second hand textiles?'
'Shoot...I'm just going for it!'

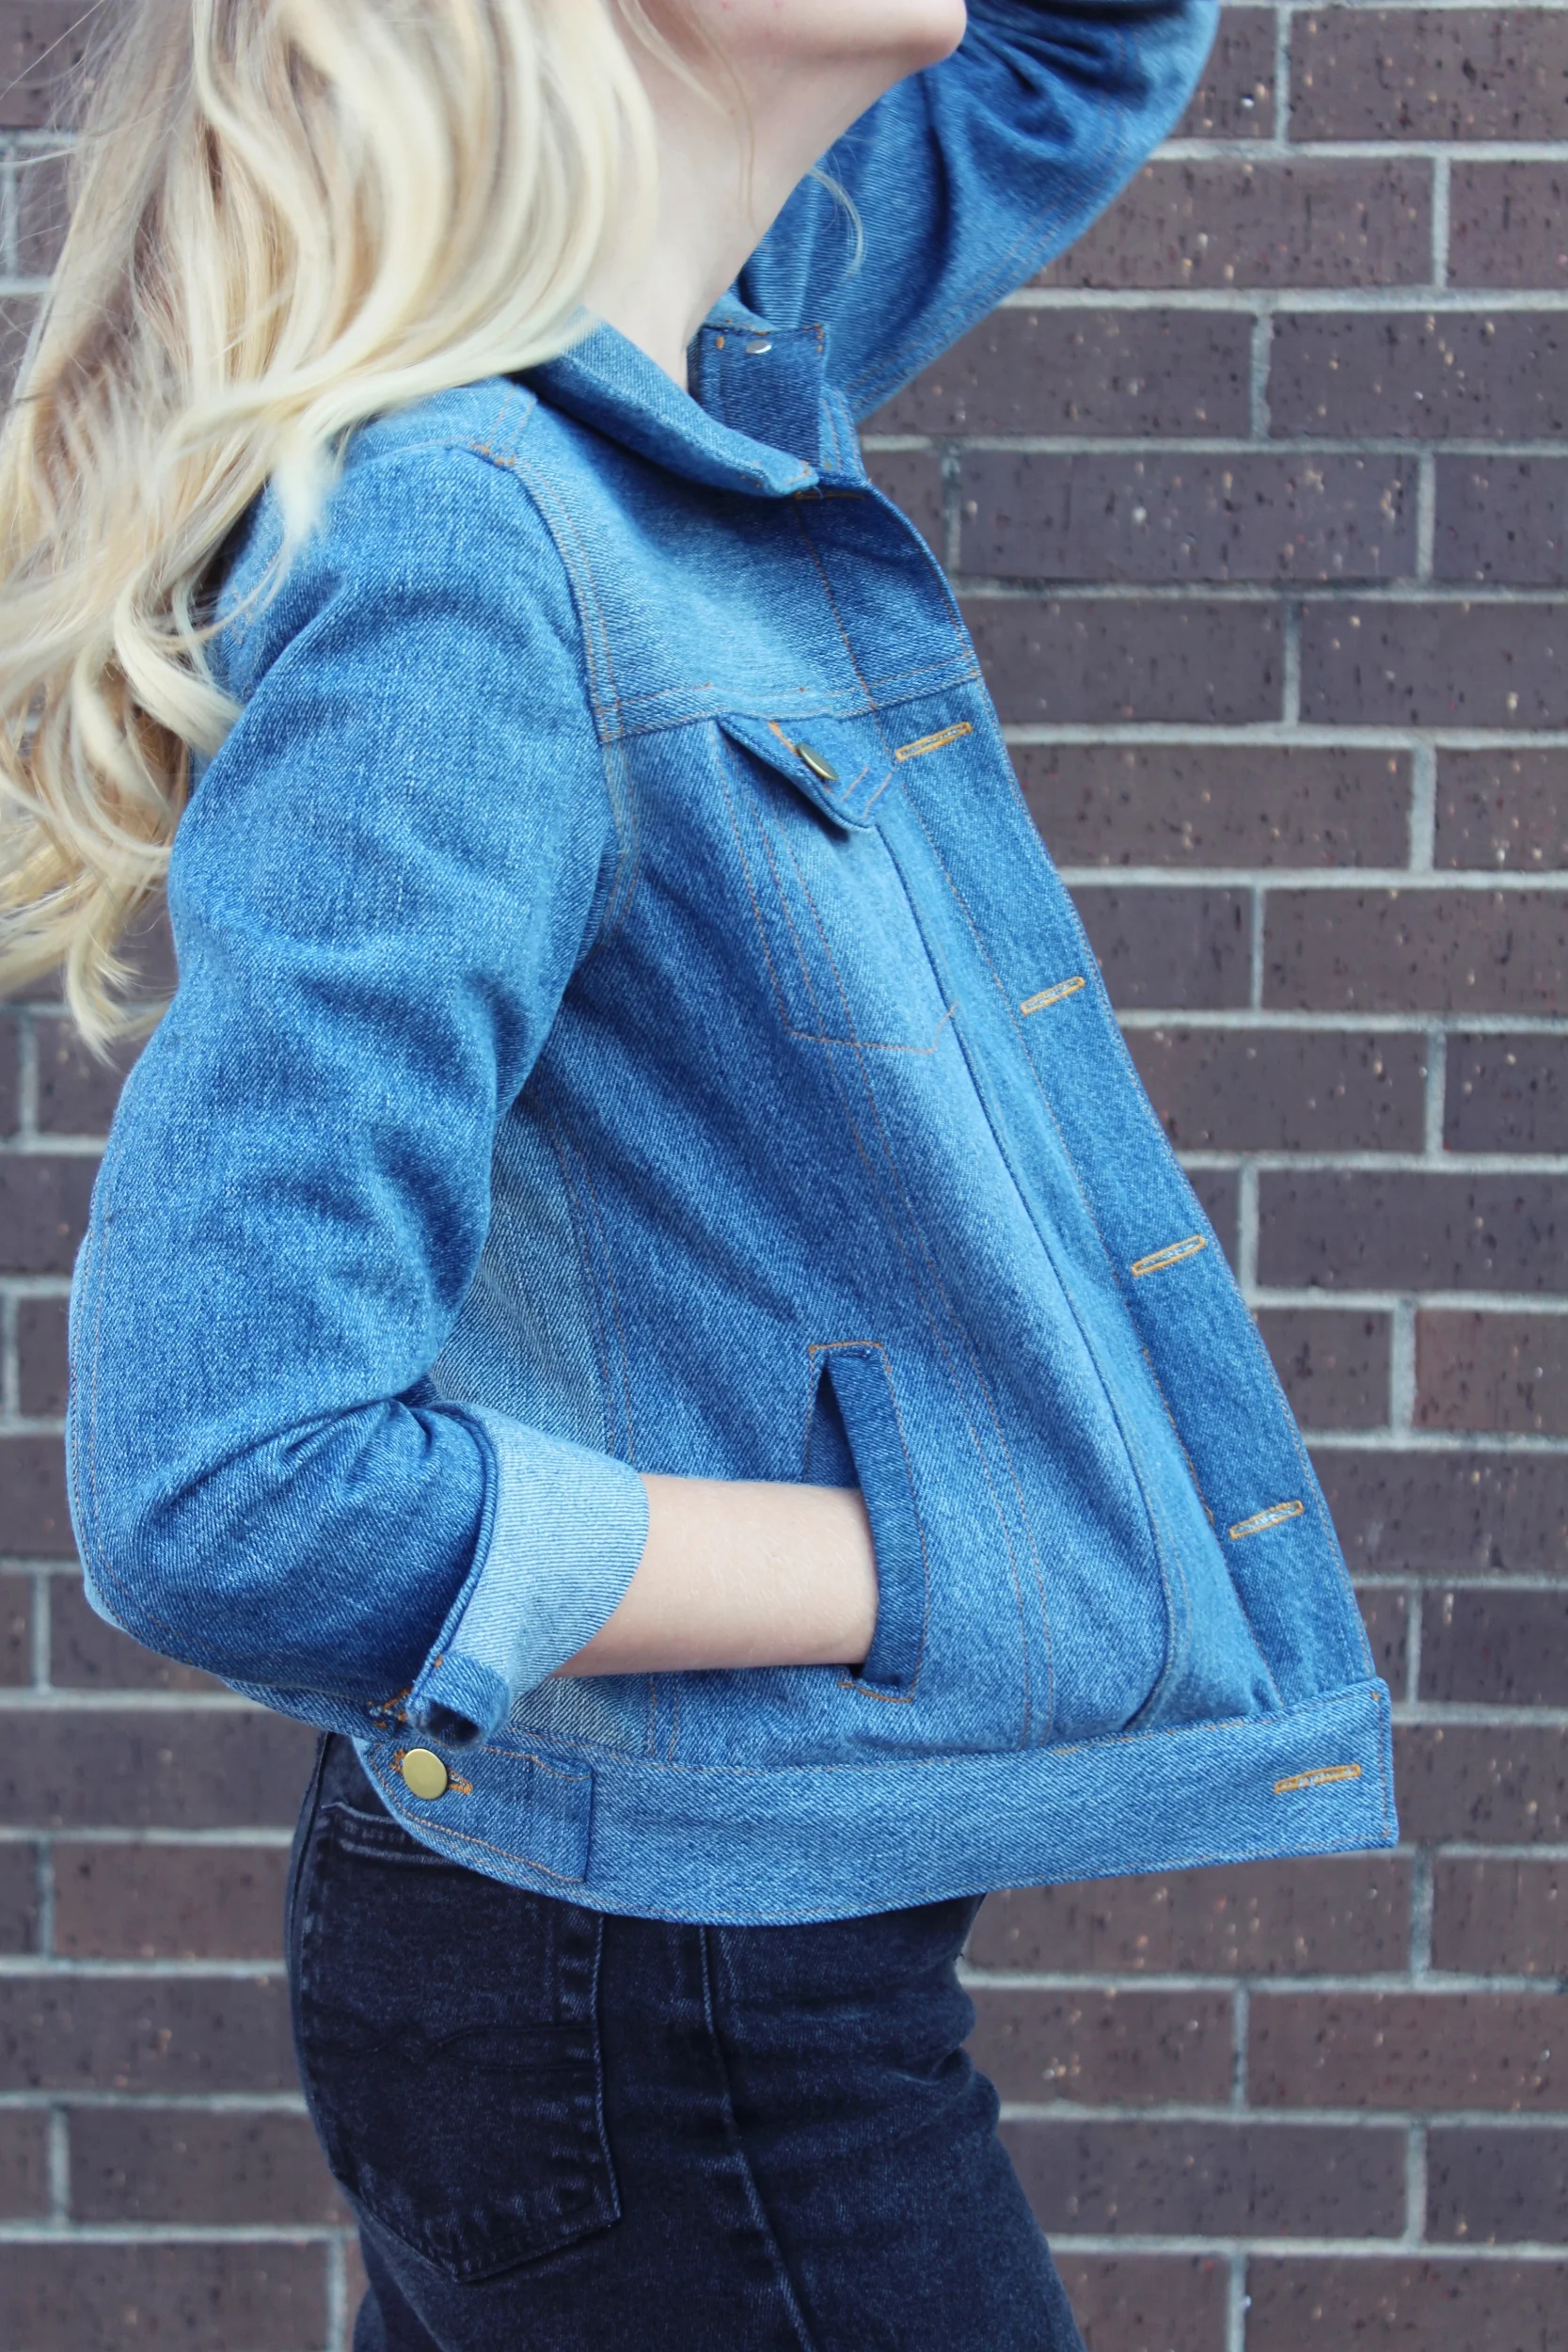
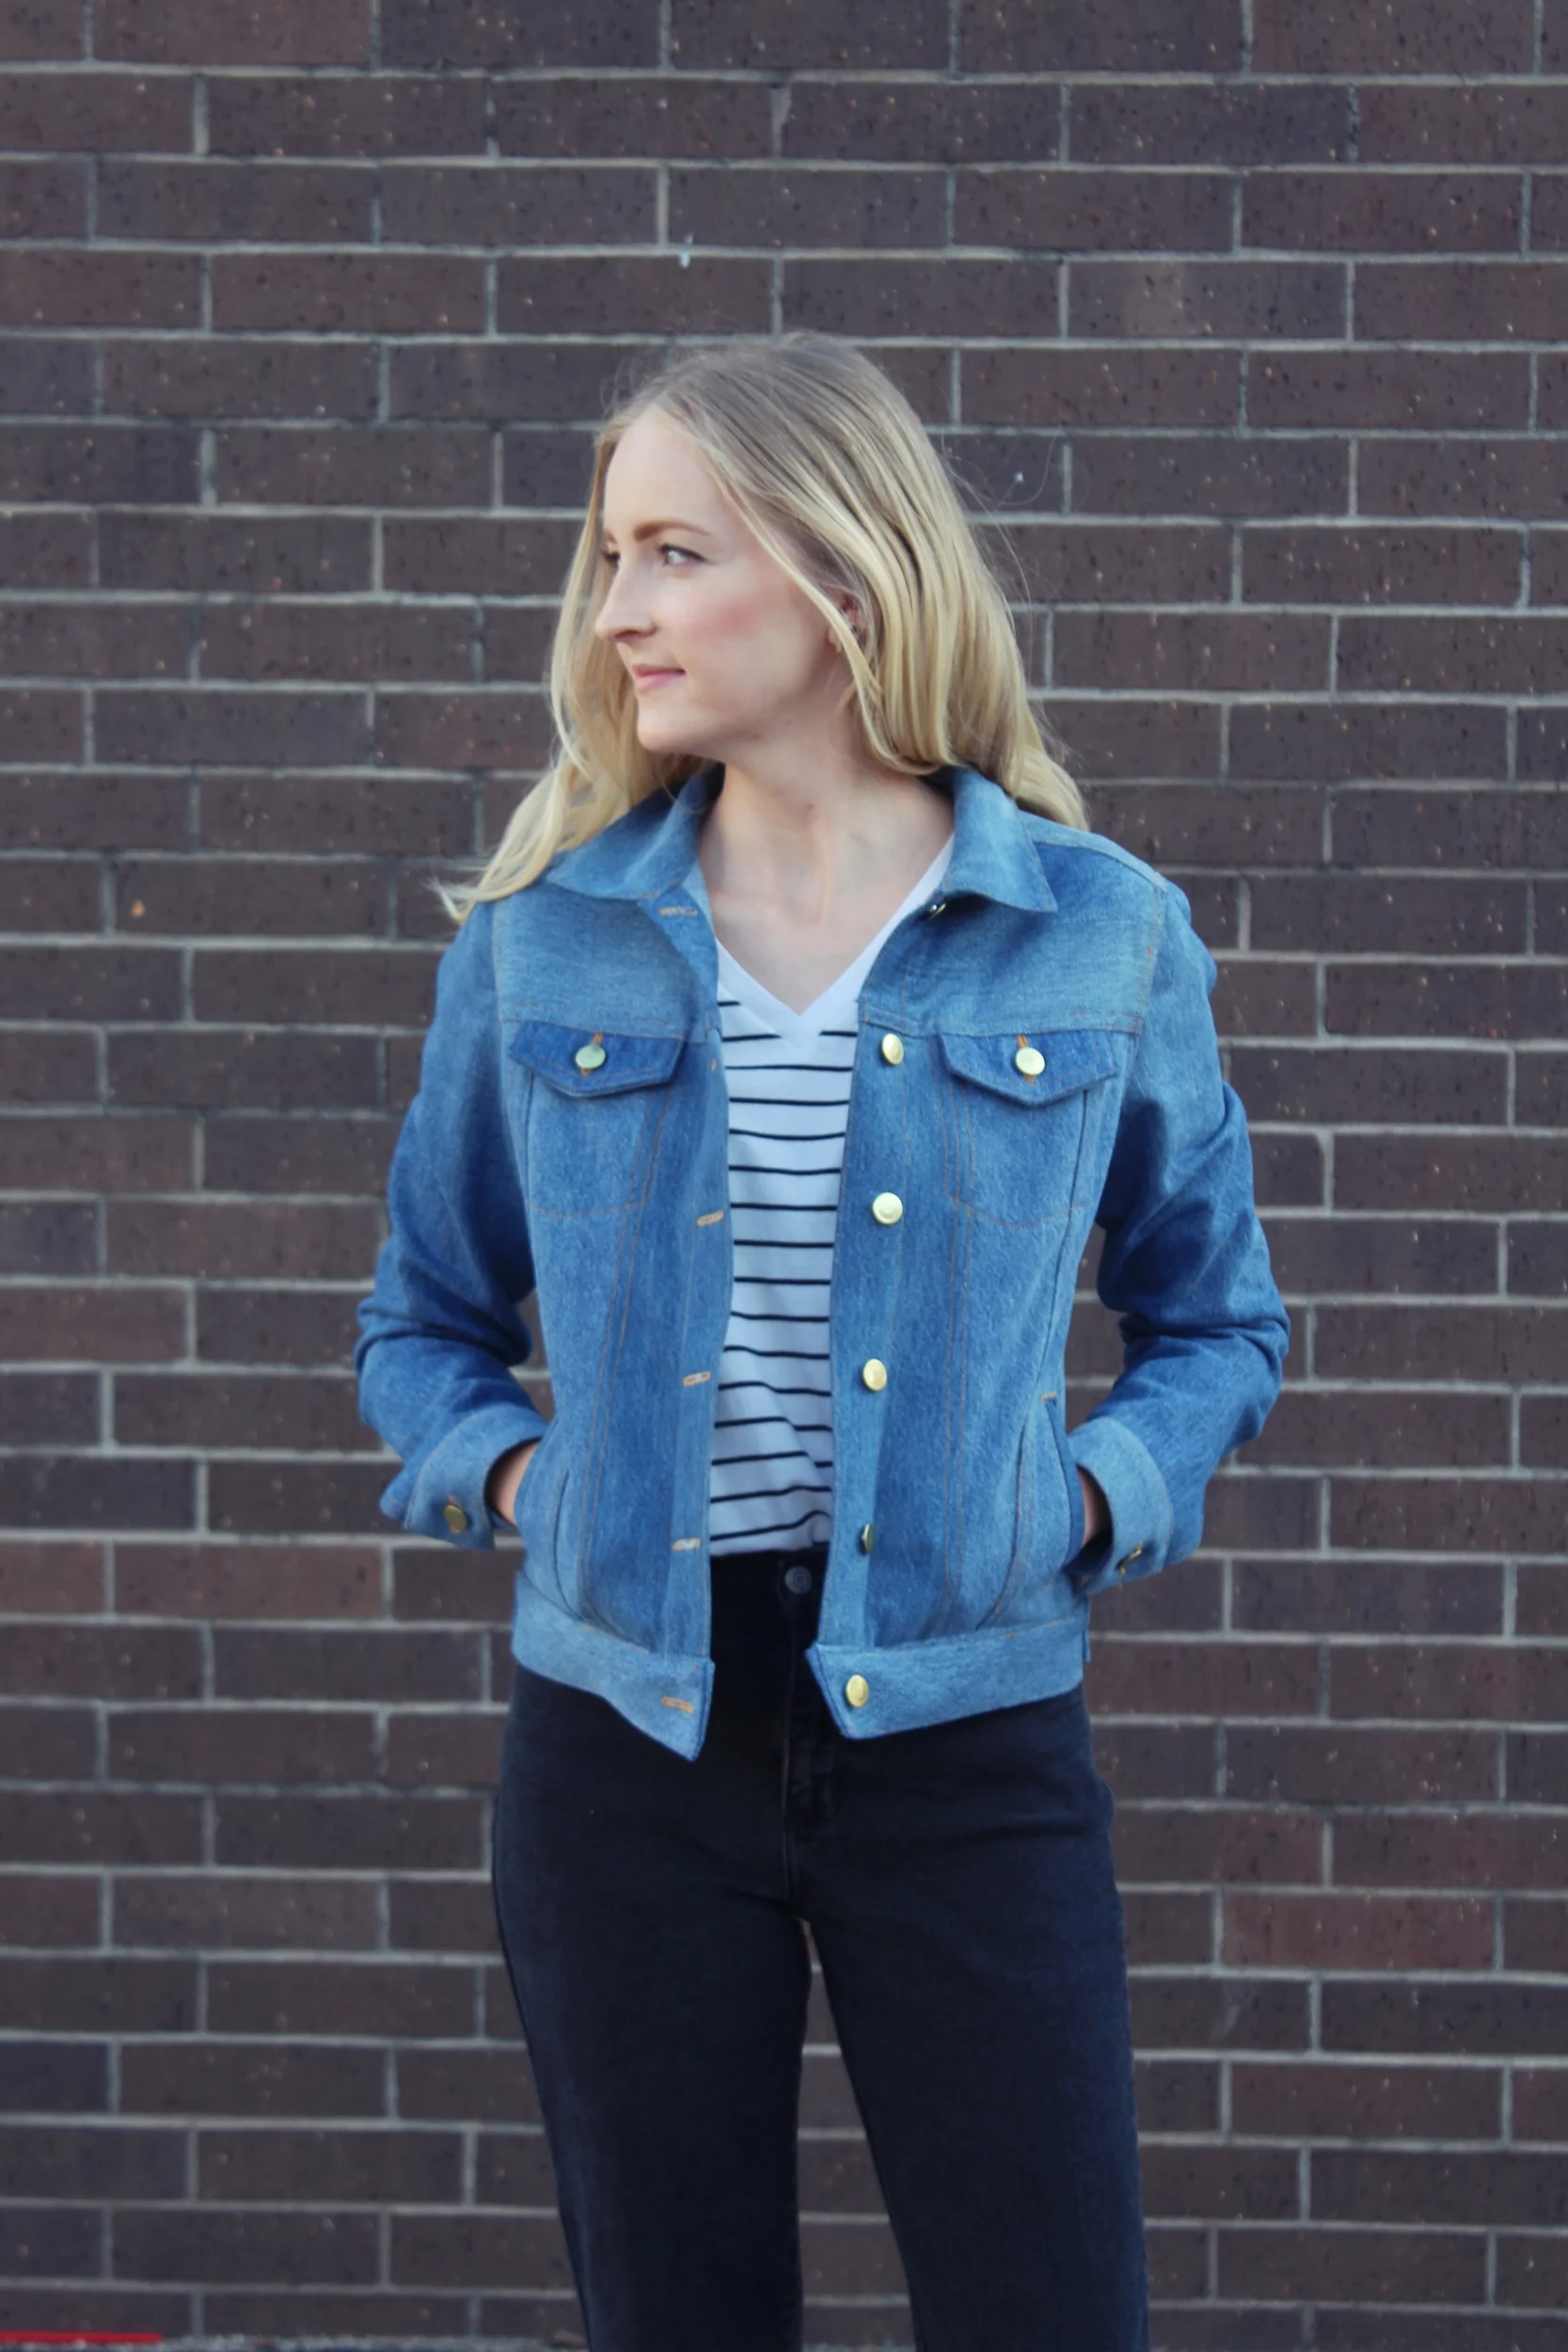
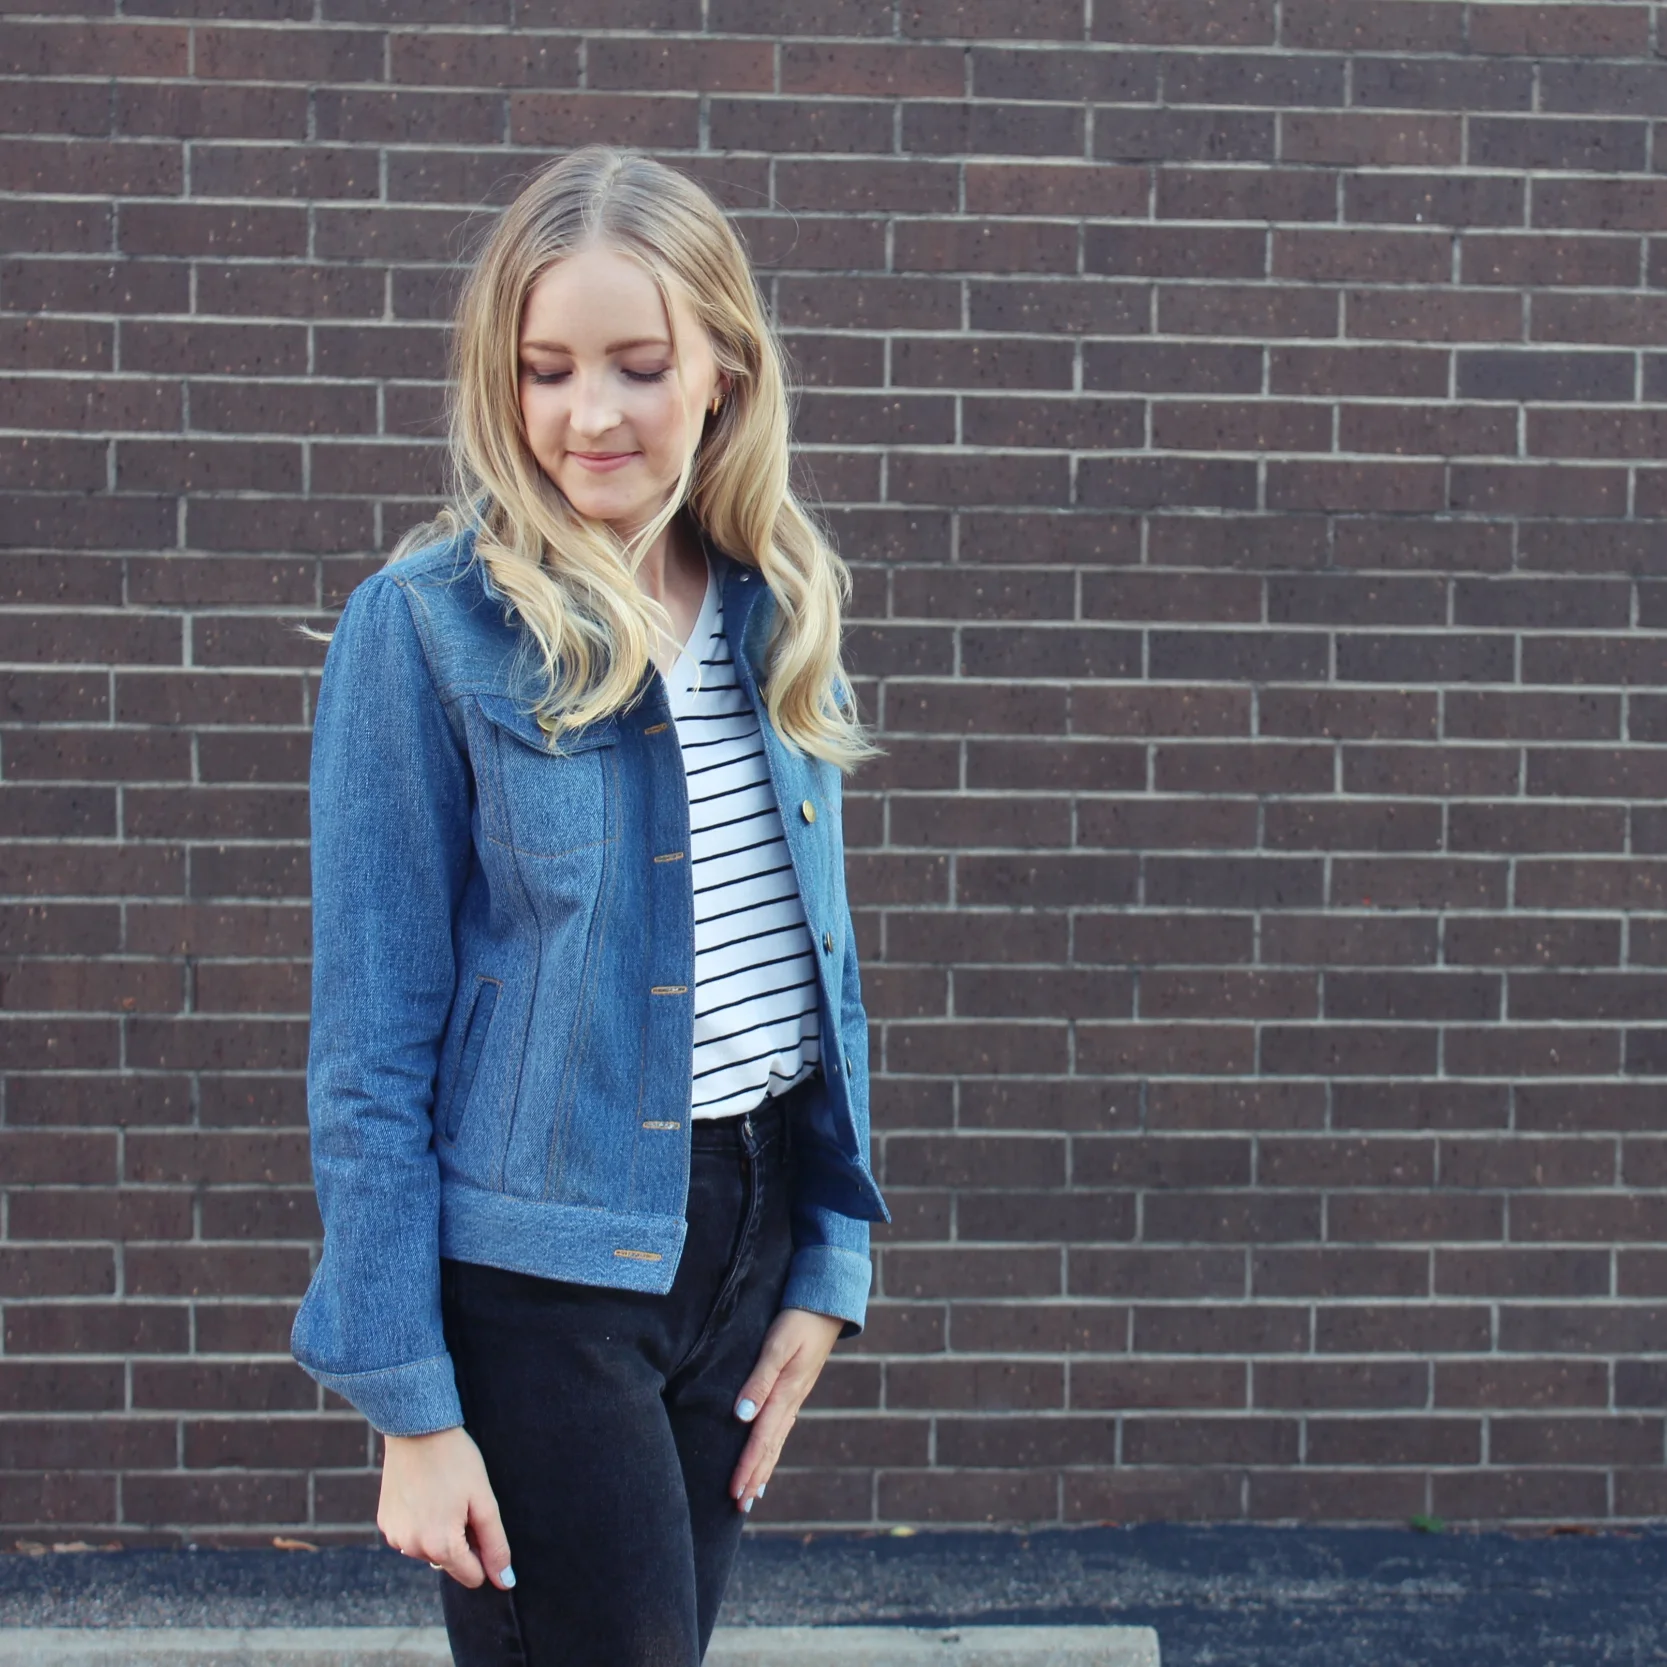
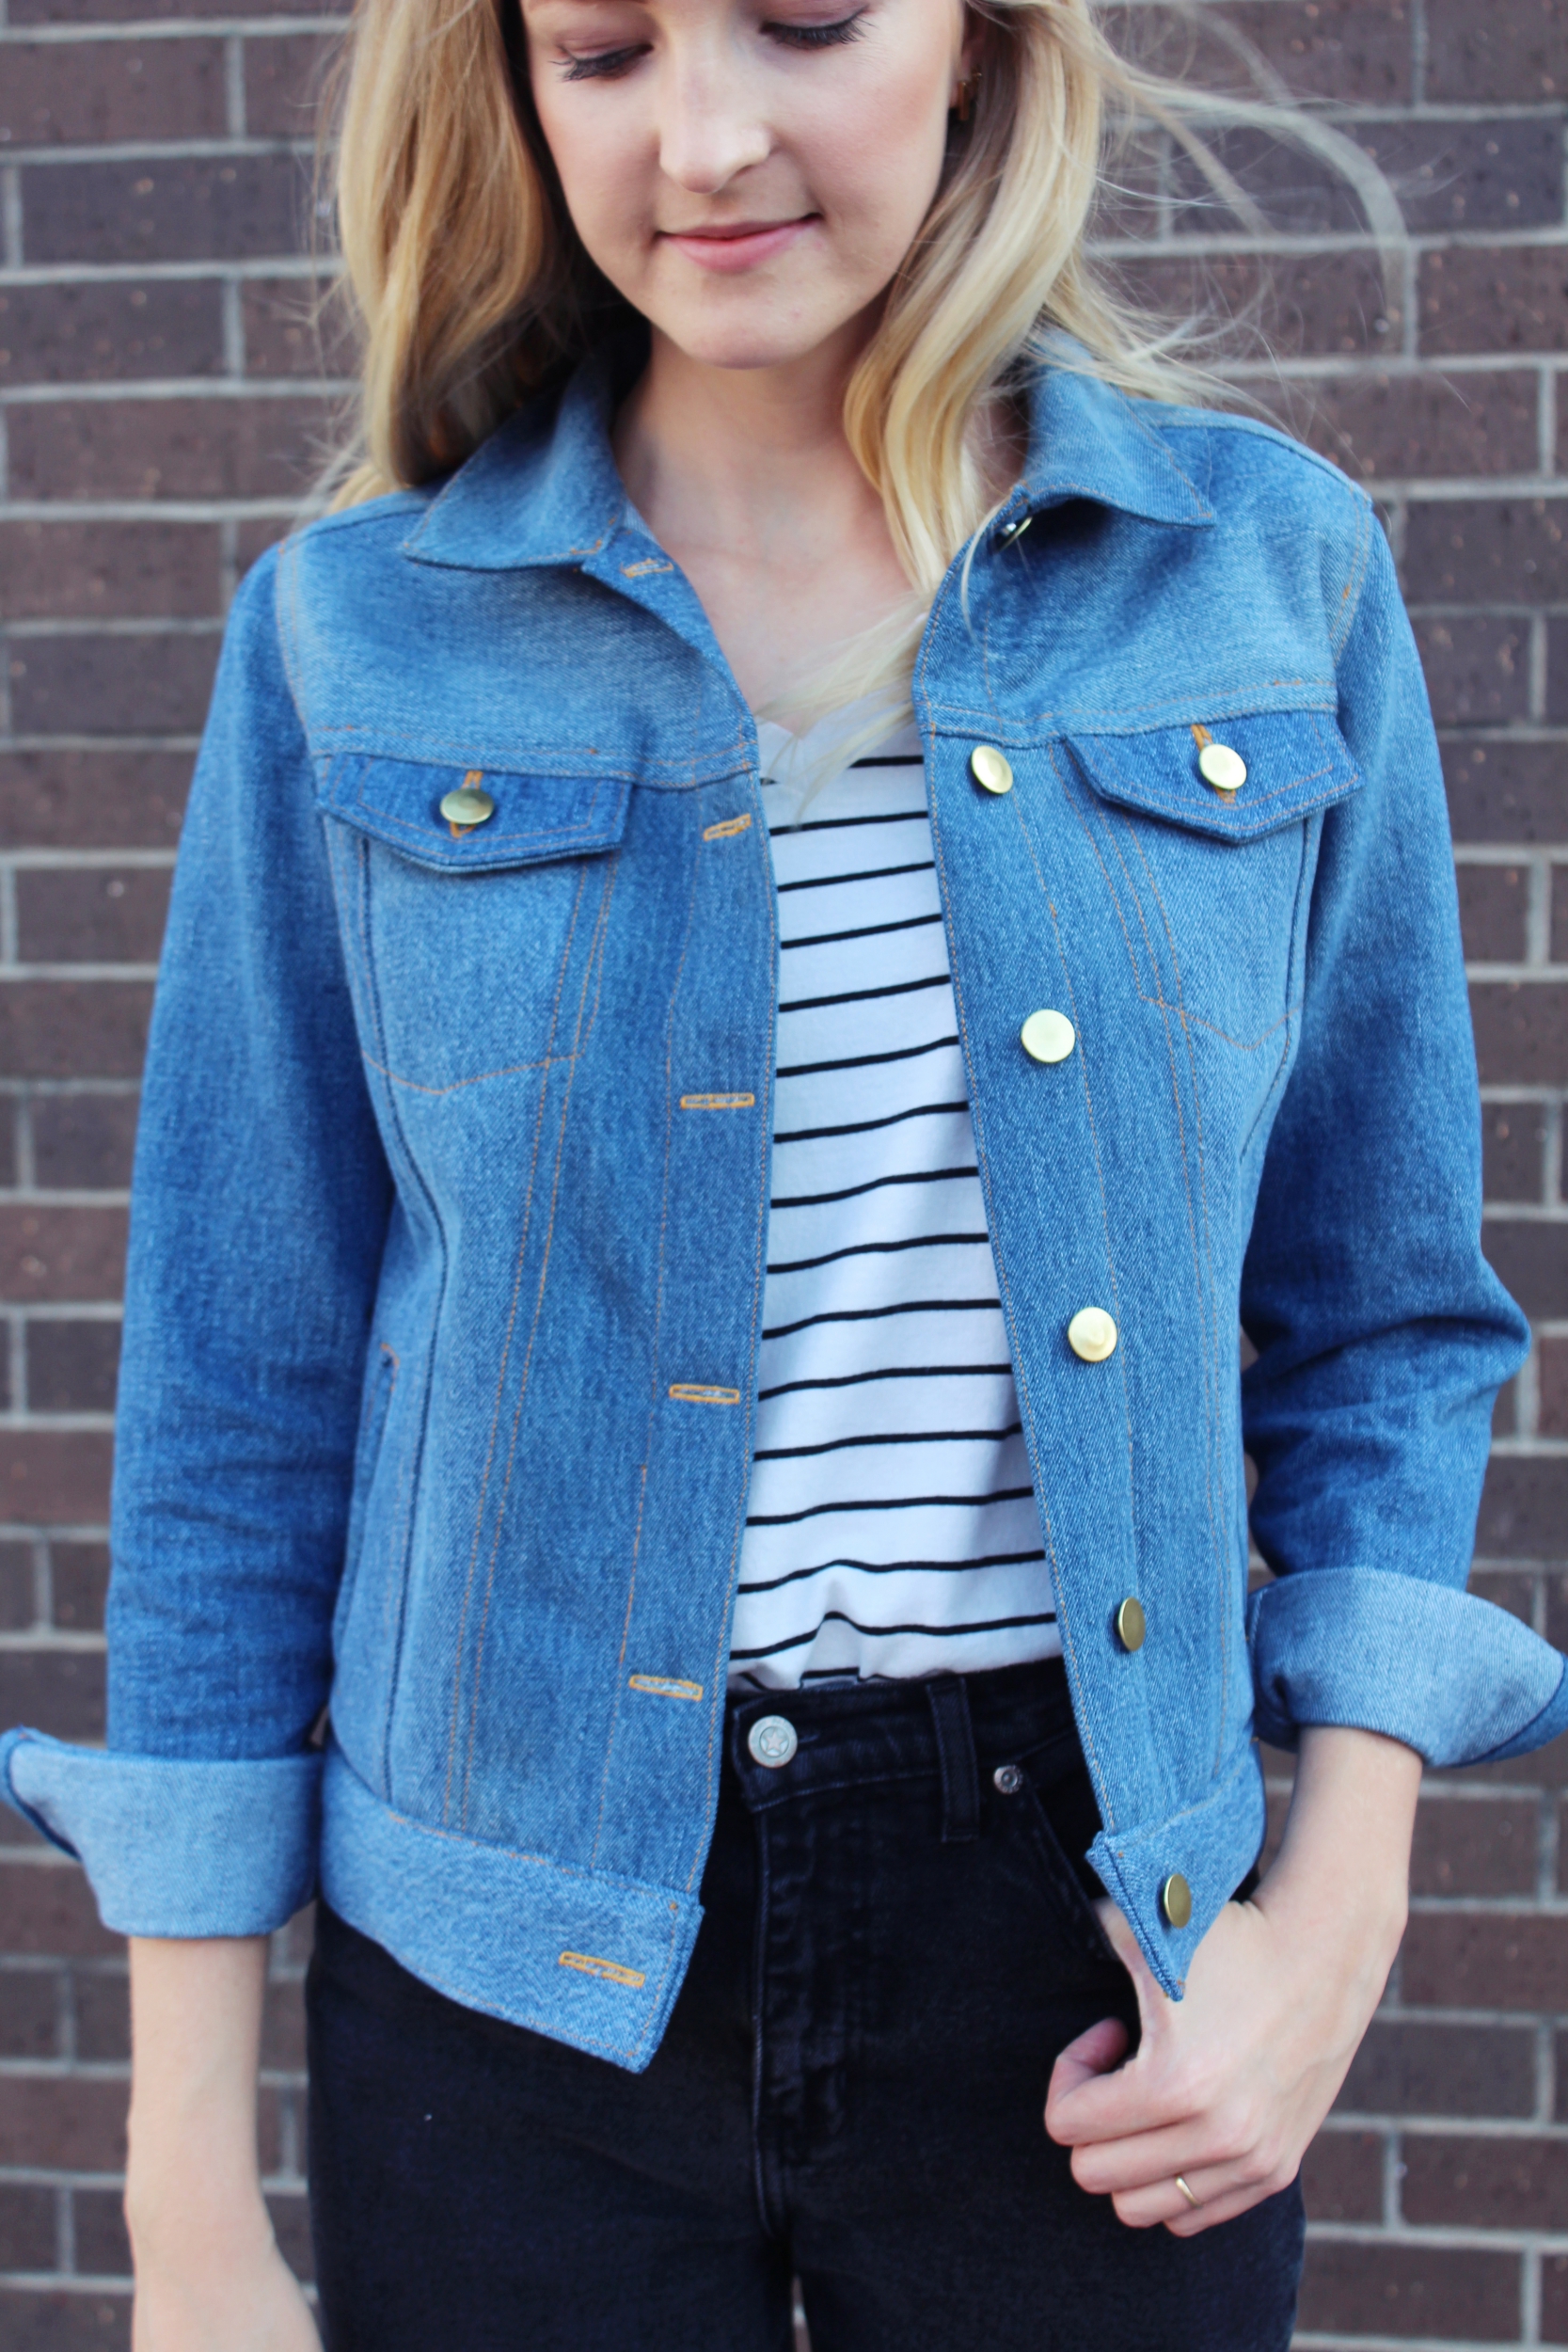
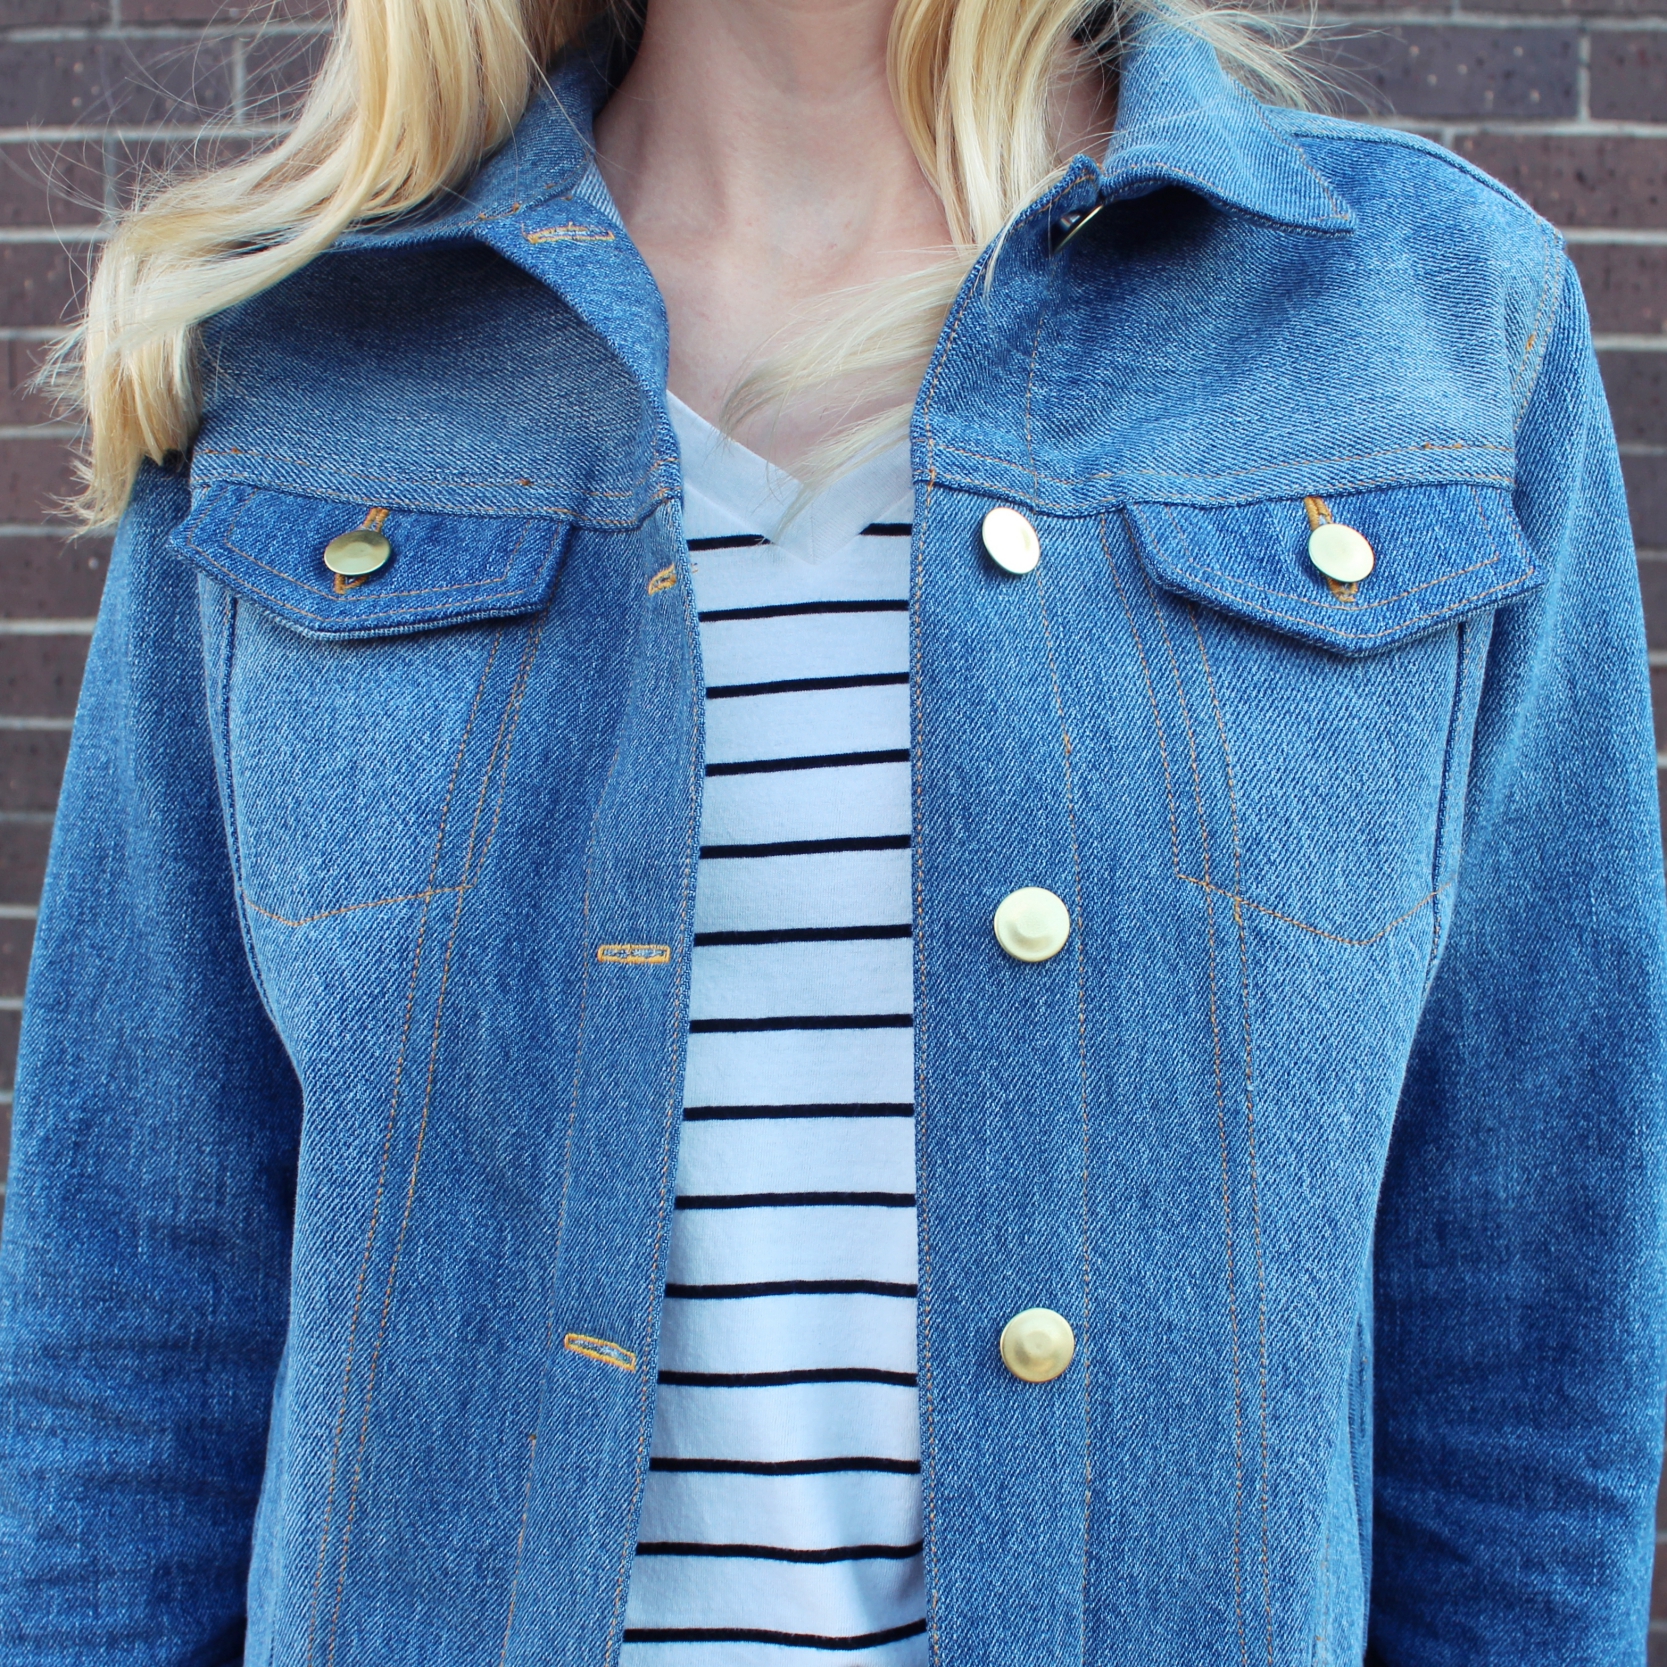
A trip to the thrift store and many hours of work later...here we have it! A jacket made entirely of old Levis found second hand! If you would have told me I would be making a jean jacket this early on in my sewing journey, I would have just laughed. I consider myself an 'advanced beginner' but tackling this jacket was SO doable. A challenge, YES. But one that taught me a lot and bumped me to what I would call an 'intermediate' sewist. :)

The Pattern: Hampton Jean Jacket by Alina Design Co
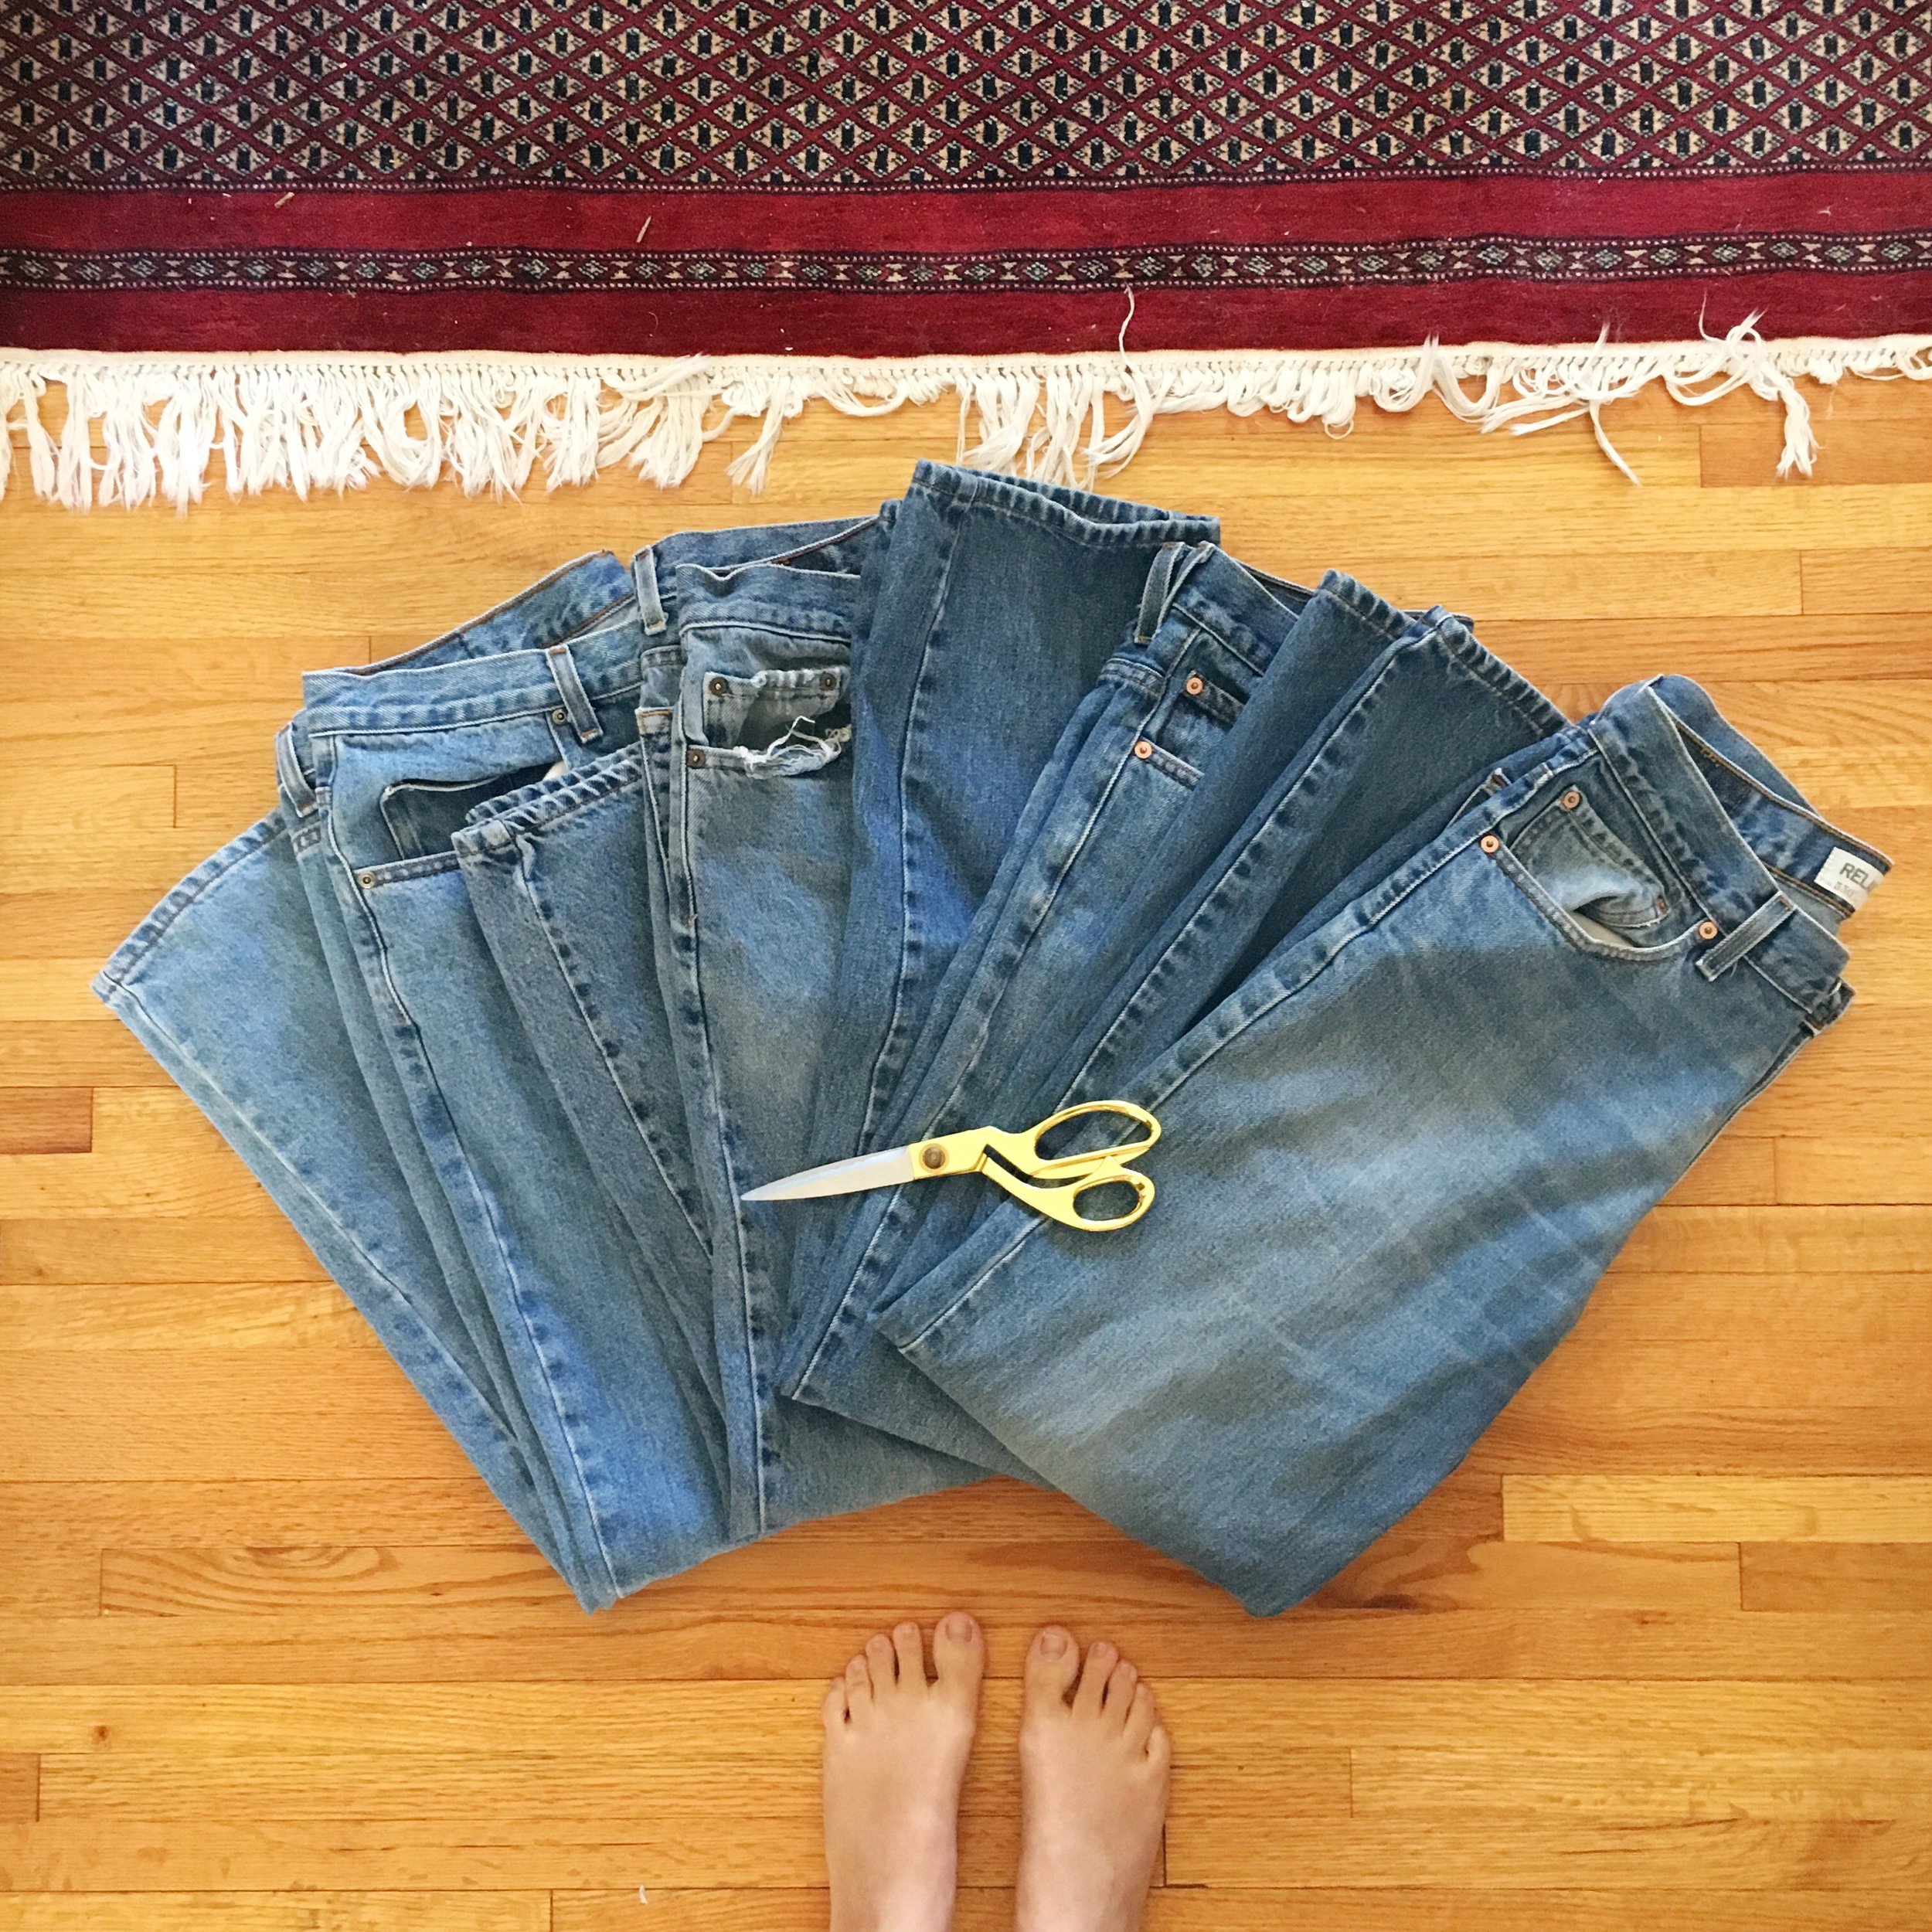
The Fabric: zero stretch denim taken from 4 pairs of second hand Levi's
The Process: When I went to the thrift store I headed straight to the men's section and started searching for several pairs of zero stretch jeans in a similar wash. I really wasn't sure how many pairs I would need, but ended up with the 4 pictured above. I could have almost squeezed the entire jacket out of 3 pairs, but ultimately I'm glad I had 4 to work with. Each pair was under $4 which means I spent less than $16 total for the denim (and I have extra leftover that I'm planning to make some Christmas gifts out of!). 2 of the pairs were nearly identical and had lots of tiger stripes at the hips and knees.
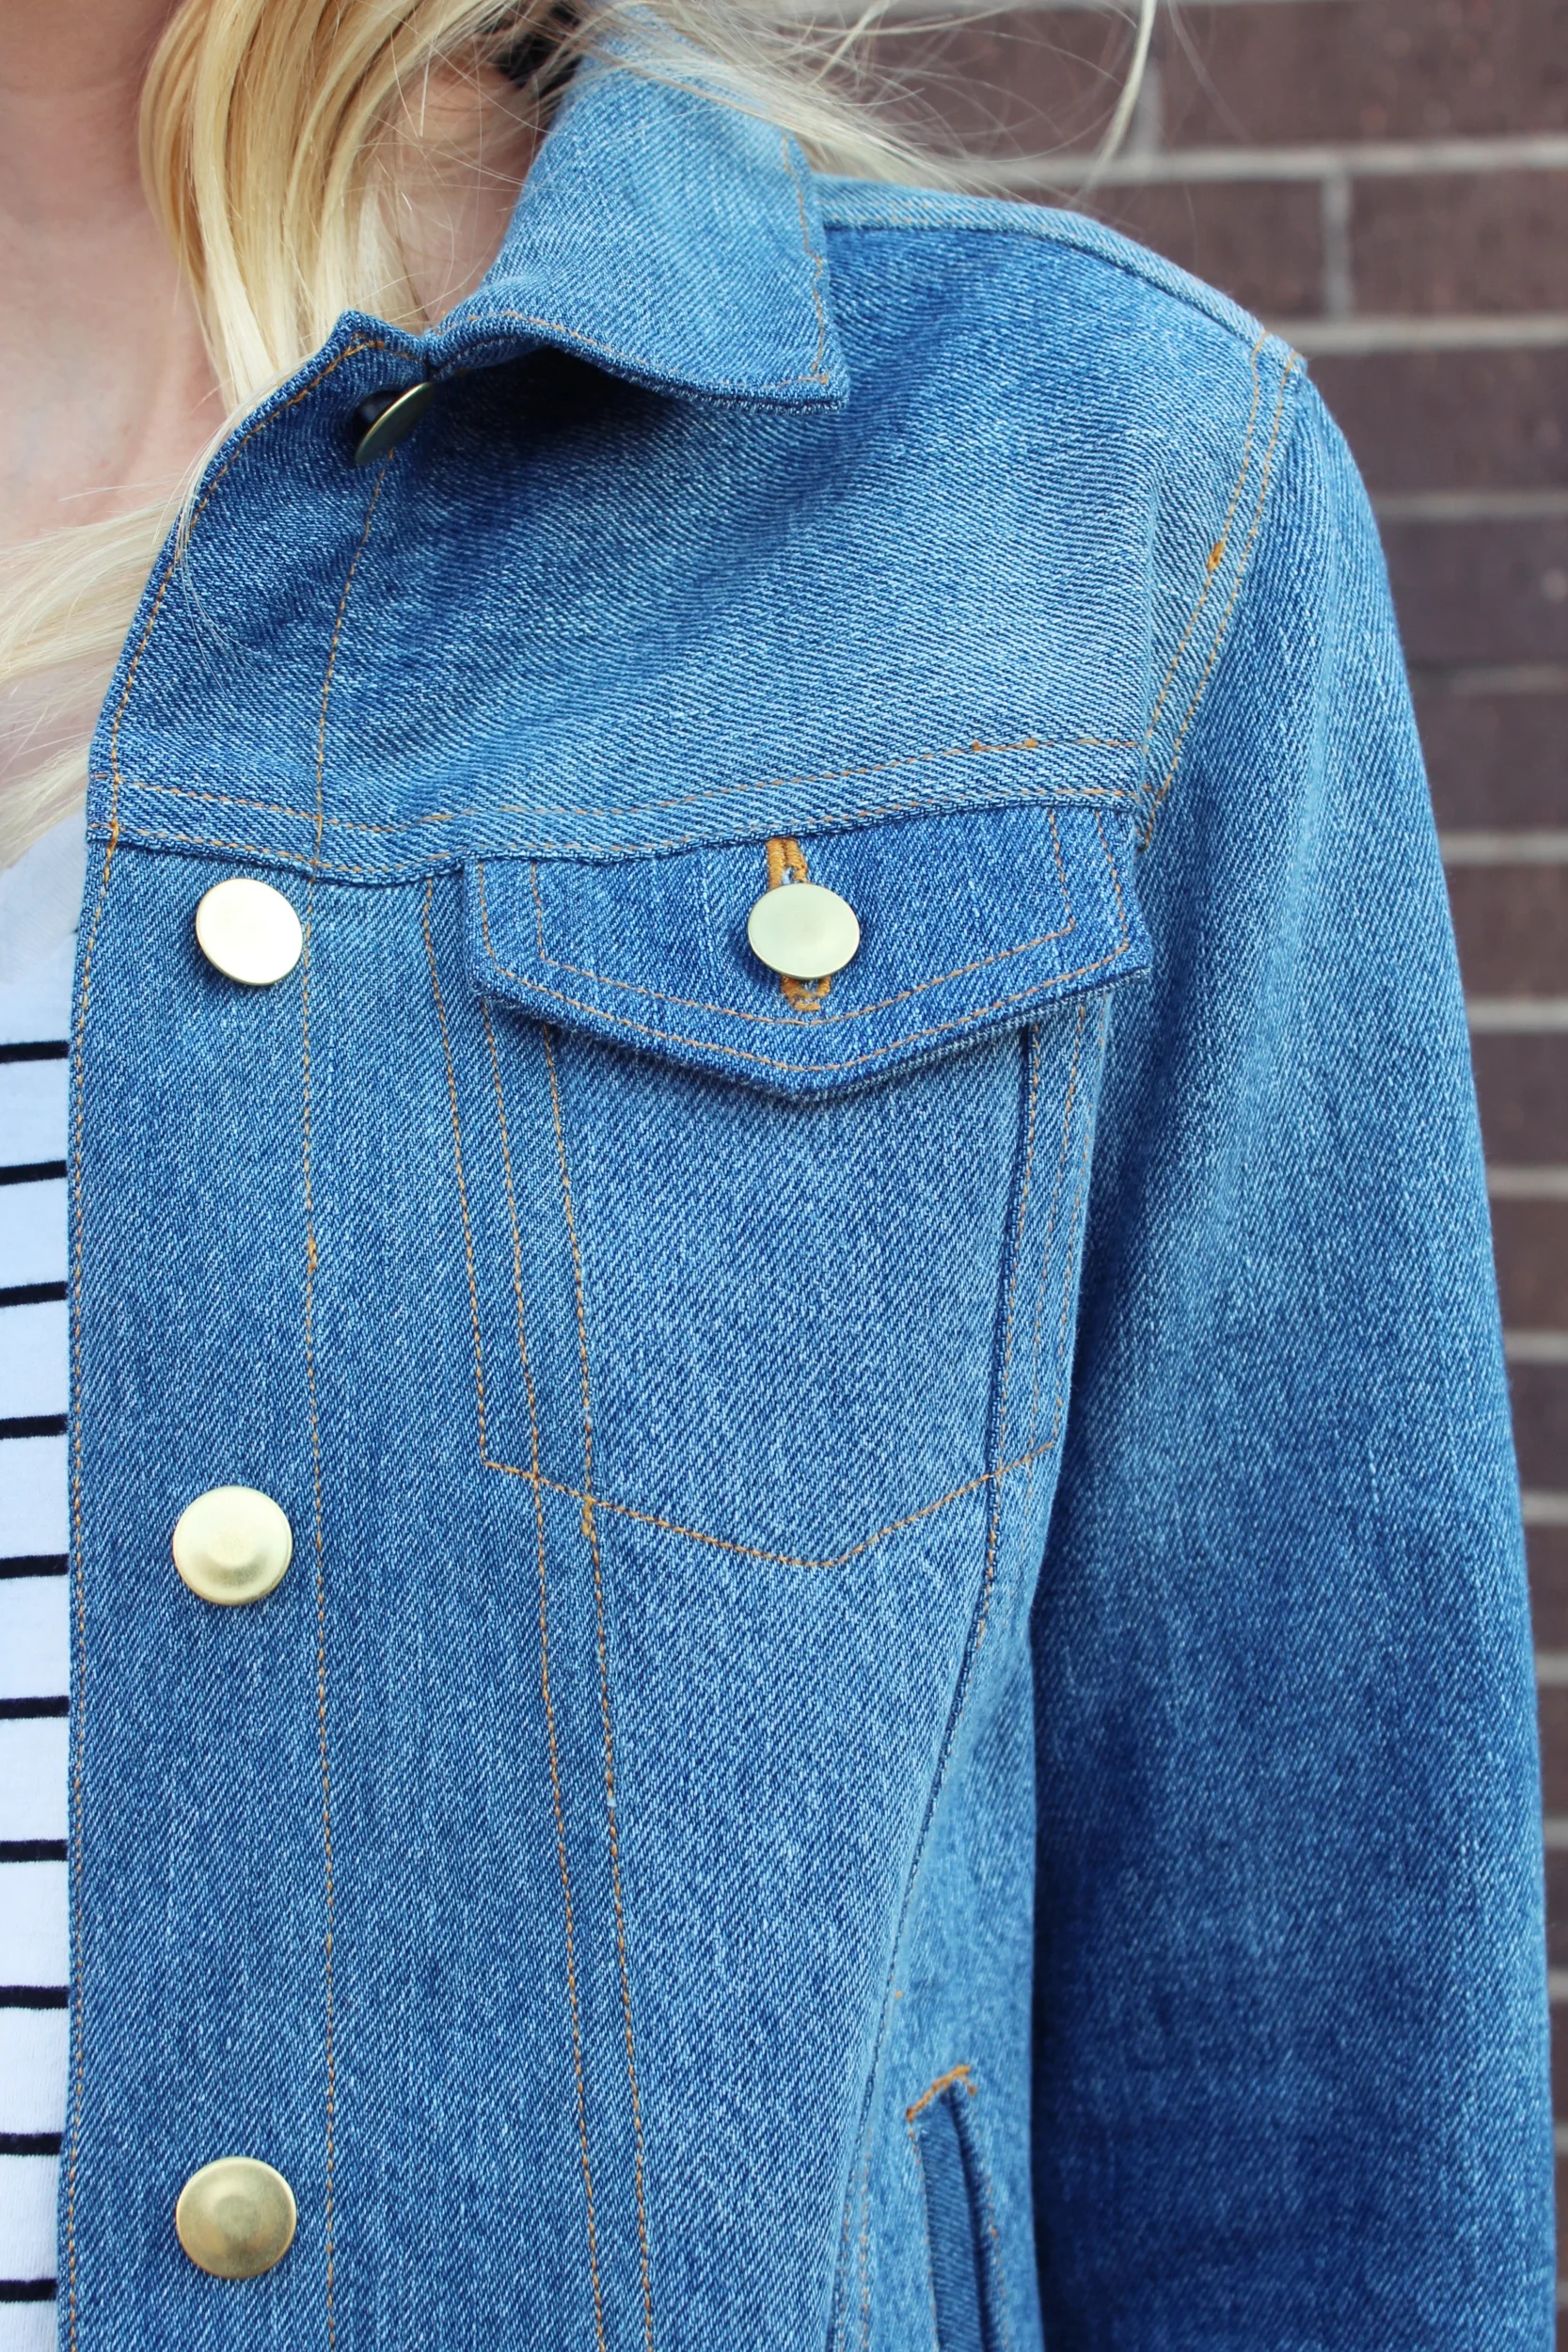
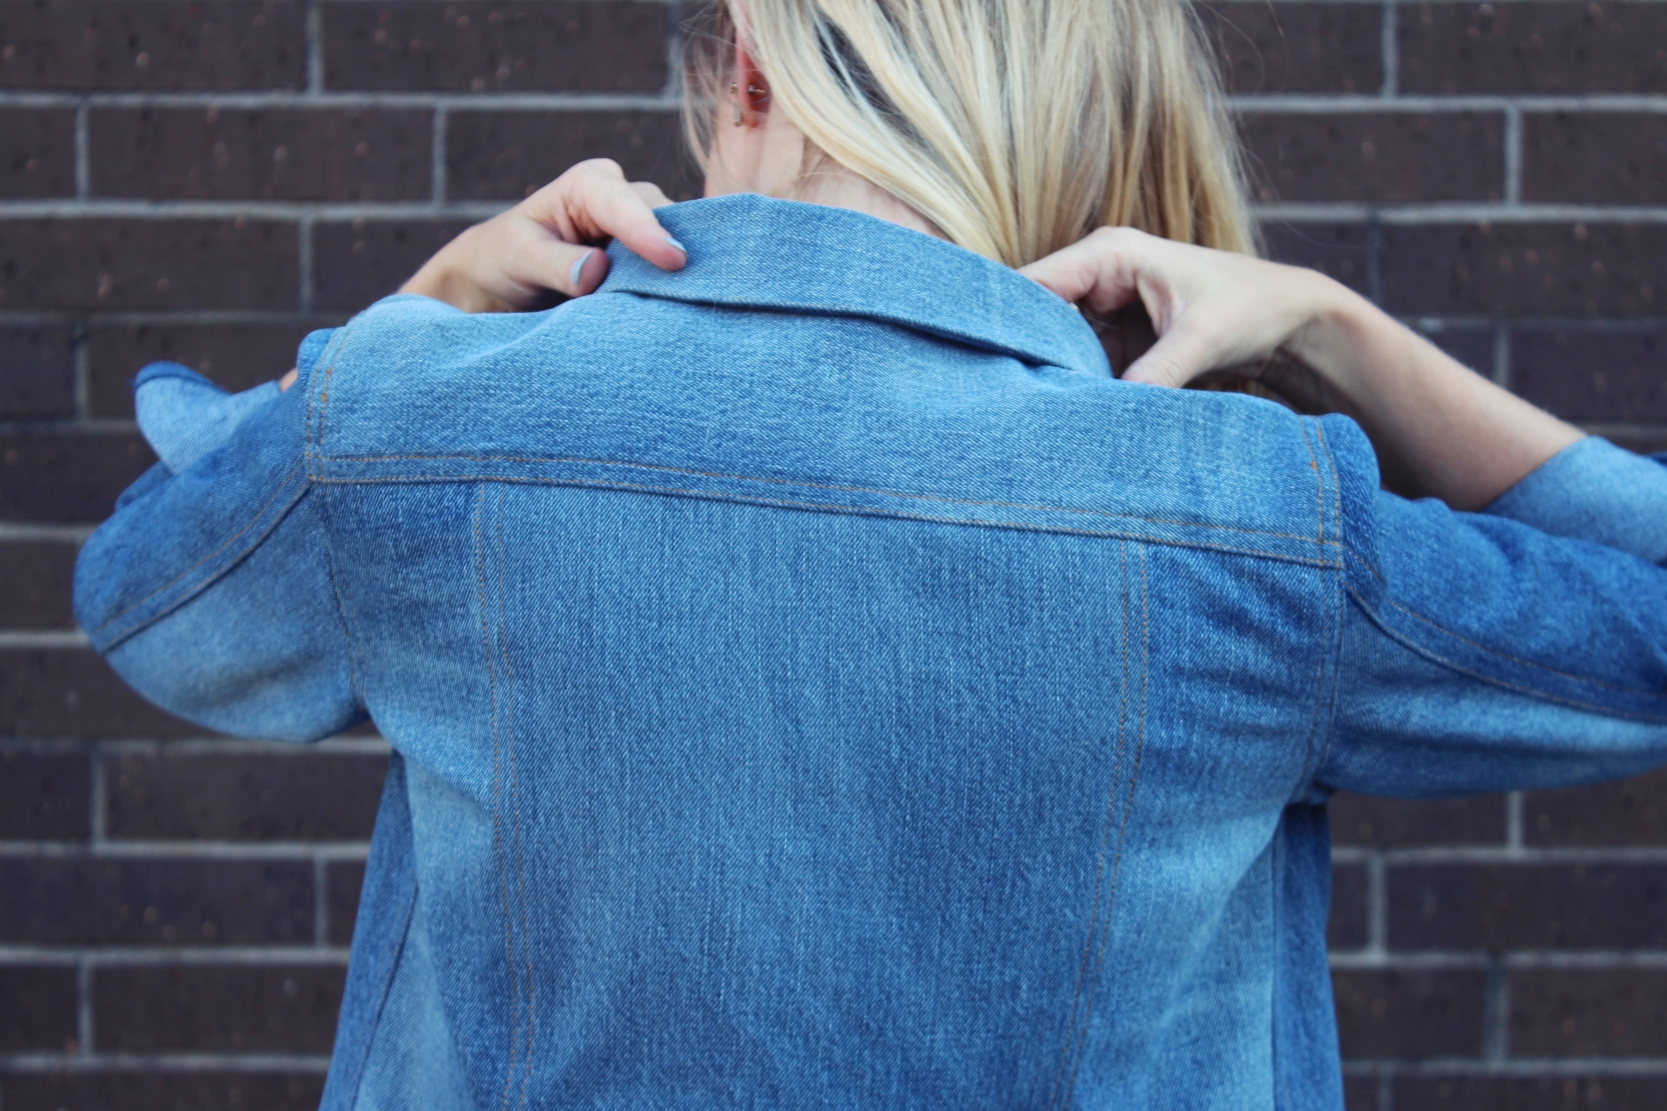
From here I came home, washed and dried the jeans, then laid them out. I cut each pair apart making sure to keep each mirrored leg piece with its mate. After cutting out and taping my pdf pattern the fun/challenging part came along. I had to decide which pieces to cut out of what part of each panel of denim. The pattern calls for lots of 'mirrored' cutting which worked out nicely because I had two legs of each pant to work with, front and back. So basically I cut each mirrored piece from the left then right leg. If you look at my jacket you can see varying colors but each panel/sleeve/band is the same on each side. This kept things symmetrical and less busy.
The only section I had to piece together was the waistband. It requires the longest amount of fabric and you can see the seam on the center back where the pieces merged. I don't think it's terribly distracting or noticeable. 
I'm not going to lie, part way through the project I did message Alina and told her I thought it was looking a little 'Justin Timberlake Brittany Spears at the VMAs'. Eek. Not what I was wanting or anything I would wear. BUT I kept persevering even just to learn something along the way. I'm glad I did!

I considered over-dyeing the entire jacket to give it more congruent coloring but after it was completed, I didn't want to loose the affect of the varying shades of washes. I kind of love how it turned out really!

Let's talk topstitching for a minute. I had never used topstitching thread before, and I made the bold decision to go with the traditional mustard/gold color you see on classic denim wear. Haha. Haha. HAHA. Oh Star. How this project humbled you. Using this color is wonderful but it DOES show every flaw. In hind site, being that I'm an 'advanced beginner', I would have chosen a blue to hide my wobbly seams that are here and there on the jacket. To any passing stranger, I'm sure it's not noticeable, so it's not a big deal. I just had to decide to let it go. ;) My machine did struggle with the weight of the topstitching thread and, at times, the 6 layers of denim. But we fought through it and somehow came out ok! Alina suggests using regular thread if your machine is struggling, and I did do that with the button holes.

The welt pockets were another challenge, but my mother-in-law helped me through those and it was fun to see them come out. I like how the darker denim shows them off a bit on this jacket.

If you decide to make this jacket, Alina has an incredibly helpful sew-a-long that I highly suggest utilizing. It really helped me make it through.
Modifications: I made no modifications to this pattern and sewed up a straight size 2. After making a muslin, I decided to size up one size to allow room for layering this fall and winter. The fit is wonderful.
Styling & Versatility: A classic denim jacket is a no-brainer. It will last for years and years and can easily be thrown on top of anything to add warmth and style. I will definitely be wearing this a LOT this coming season!

Alina is offering a discount code for my readers (thank you, Alina!). Simply use the code HAMPTONSFORALL at checkout to receive 15% off.

Be sure to check out the amazing bloggers who have shared their jackets this week!
Helen's Closet
A Closet Handmade
Tabi Made
Straightstitch Designs
Match Makes Clothes
Nicole Merritts