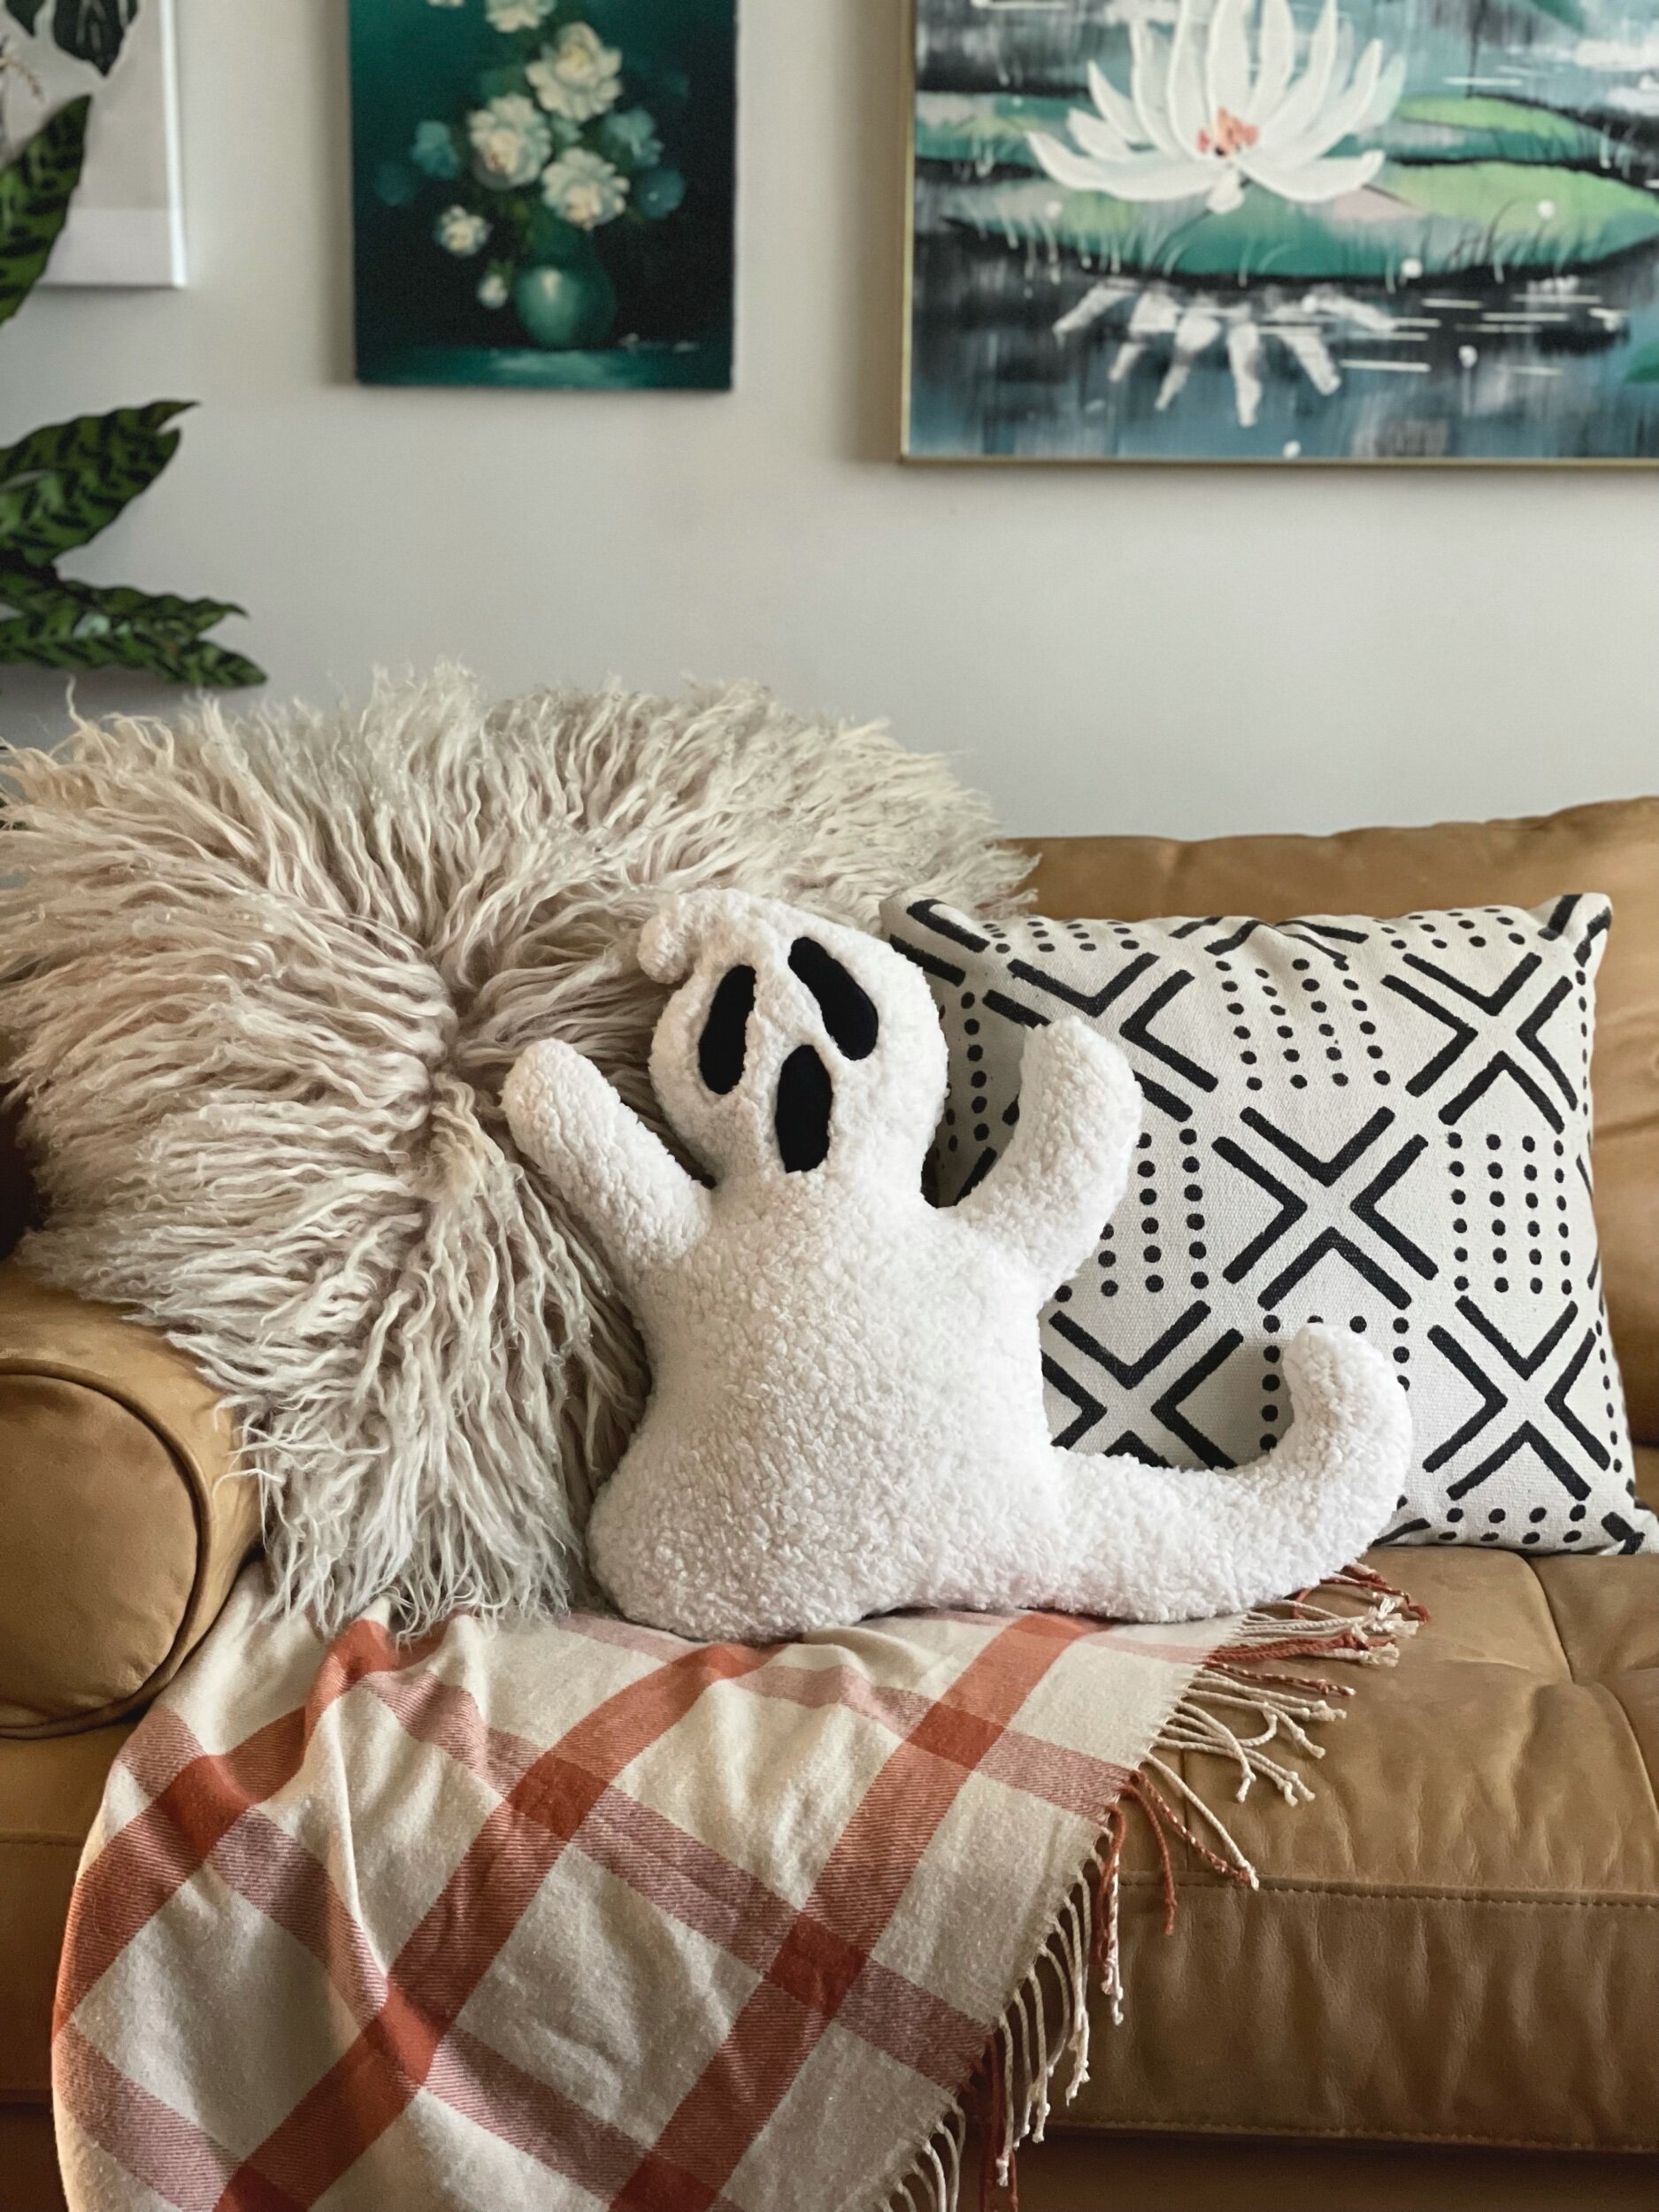
DIY Ghost Pillow (w free pattern!)
Boo! 👻
Spooky season is upon us and I’m really into all the cute Halloween decorations this year. I typically only decorate for Fall, but I’ve got the itch to add more black and white Halloween vibes to my home! Perhaps I’m nesting? Or perhaps it’s another excuse to go all out decorating? Who knows!
After searching on the internet and looking locally for a cute pillow to add to my couch, I decided I wanted to make one instead! I just couldn’t find one I was happy with.
I grabbed some of my kids butcher paper and began drawing the general shape I wanted and tweaked it until I was happy with the curves and the look of my little ghost. Then I got to work!
Here are the supplies needed to recreate this pillow:
faux Sherpa fabric in ivory or white (I used ivory)
black fuzzy fabric (for eyes)
black and white thread
sewing machine (or a needle and some patience)
Poly-fil for stuffing
Optional: stabilizer & spray adhesive
Instructions for construction:
Lay out Sherpa fabric right side down. Using your assembled pattern trace around the paper .5 inches away (the pattern does NOT include a seam allowance). Cut out fabric. Repeat this step but be sure to flip the ghost pattern to the other side before tracing.
Using eye and mouth template, trace and cut out fabric. No seam allowance is needed for this part as you will be ‘appliquéing’ the eyes and mouth onto the ghost body.
(Optional but very helpful step) Using iron-on stabilizer, stabilize the back of the eyes and mouth. This will help keep them from shedding and slipping as you sew them.
Decide on the placement of your ghost’s eyes and mouth and pin them in place. (I chose to use spray adhesive before pinning at this point to really keep them where I wanted, but it’s not 100% necessary). With your sewing machine set to a close zig-zag stitch (I played around on a scrap piece of fabric to get it just right), carefully sew around each piece. This took a bit of time and patience as you must lift the presser foot to maneuver around the curves.
Alternatively, you could hand stitch these on if you are feeling ambitions or the zig-zag option is giving you trouble.Place your ghost right sides together, pin in place. Following your outline, sew the ghost together on a normal stitch leaving an opening at the bottom to fill. I clipped into the curve at the top of his head so his cute tuft would end up the shape I wanted.
Turn ghost right-side-out and fill using Poly-fil. Be sure to really stuff the tuft at the top of the head, as well as the arms and tail.
Hand sew the opening closed and enjoy your adorable new ghost pillow!!
Pictured here is what the back of the ghost looks like after appliquéing on the eyes and mouth.


